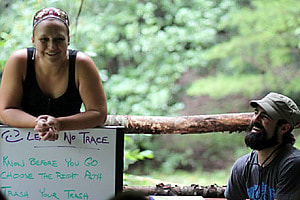
Today Rockbrook welcomed Mark Ardagna and Tara McCarthy from the Leave No Trace organization. They are currently traveling around the country on an e-tour, providing educational programs for young people that use the Leave No Trace principles to promote responsible enjoyment of the outdoors. Rockbrook was very fortunate to have Mark and Tara spend the day with us and present several workshops to our campers. Leave No Trace (LNT) is a nonprofit, educational organization dedicated to “responsible enjoyment and active stewardship of the outdoors by all people.” It advocates seven principles (not so much rules) to minimize negative impact on the environment from outdoor activity weather it be a camping trip in the woods or simply walking your dog in a city park.
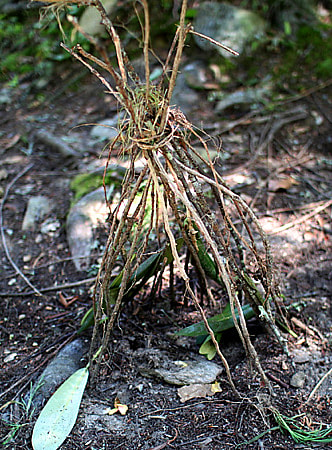
Addressing these principles, Mark and Tara discussed with the campers what it means to plan and prepare for outdoor activity, the importance of traveling and camping on durable surfaces, disposing of waste properly, preserving what we find outdoors, safely minimizing campfire impacts, how to respect wildlife, and being considerate to other people when out. They led an observation activity where the girls broke into small groups and studied a small area of the forest enclosed by a circle of string. The girls were surprised just how many different organisms were in such a small area of the forest, and how the more they looked, the more they noticed. Imagining the entire forest, something many, many times larger than their small circle of string, the girls really understood how following the LNT principles can have such a huge impact. Everyone really enjoyed meeting Mark and Tara and we all appreciated learning so much from them.
Hidden in the woods along a short trail behind our gym is Rockbrook’s Alpine Climbing Tower. This is a 50ft-tall high ropes course with almost 100 different climbing challenges available for the girls. They receive their first introduction to rock climbing here by learning about the safety equipment (helmet, harness, shoes, carabiners, etc.), the belay commands to make sure their belayer (the person holding the belay rope) is ready and working, and the important climbing techniques needed to make progress up the tower or rock. Girls of every age group can sign up for climbing and try the tower, from the littlest Juniors to the tallest Seniors. In addition to climbing one of the routes up the Alpine Tower or tackling one of the challenge elements like the “Cargo Net,” the girls can try and climb blindfolded. This of course adds a degree of difficulty to the climbing, but it also tends to calm you down and slow you down, thereby allowing you to concentrate on the climbing instead of how high in the air you are. It’s a strange wonderful feeling and a great climbing exercise. There’s also a trick the girls often do after they climb and as their belayer lowers them on their belay rope. They pause mid-air and flip upside down, “Spiderman” style… in true Rockbrook fashion, “just for the fun of it.”
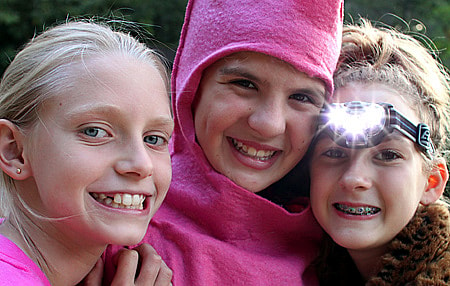
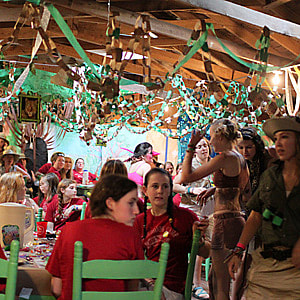
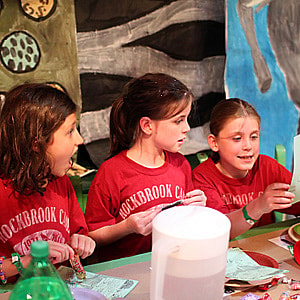
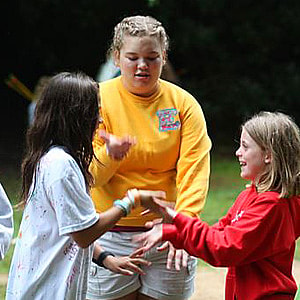
The highlight of the evening, as you may be able to guess from these two photos, was our dance with Camp Carolina for Boys, our two dances I should say because we held two simultaneously: one here at Rockbrook for the younger set, and one over there for our older girls. We’ve found over the years that splitting the girls and boys up by age allows us to adjust the music and the feel of the dance to match the different interests of 13-year-old and an 8-year-old, for example. Some girls are happy to opt out of the dances altogether, so we always provide an easy way for them to do that, to team up for a “dance alternative” activity of some sort involving an art project and snack.
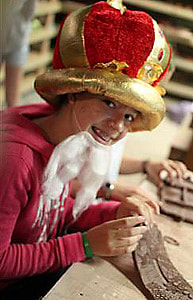
These dances are a lot of fun for the girls, even if they sometimes start out with a few jittery nerves as well. Fortunately, the counselors are there to help with this, to dress a little silly, not making a big deal about their looks, to be carefree about their dance moves (again, goofy is good!), and to encourage group dances. No pressure, just the fun of being together.

