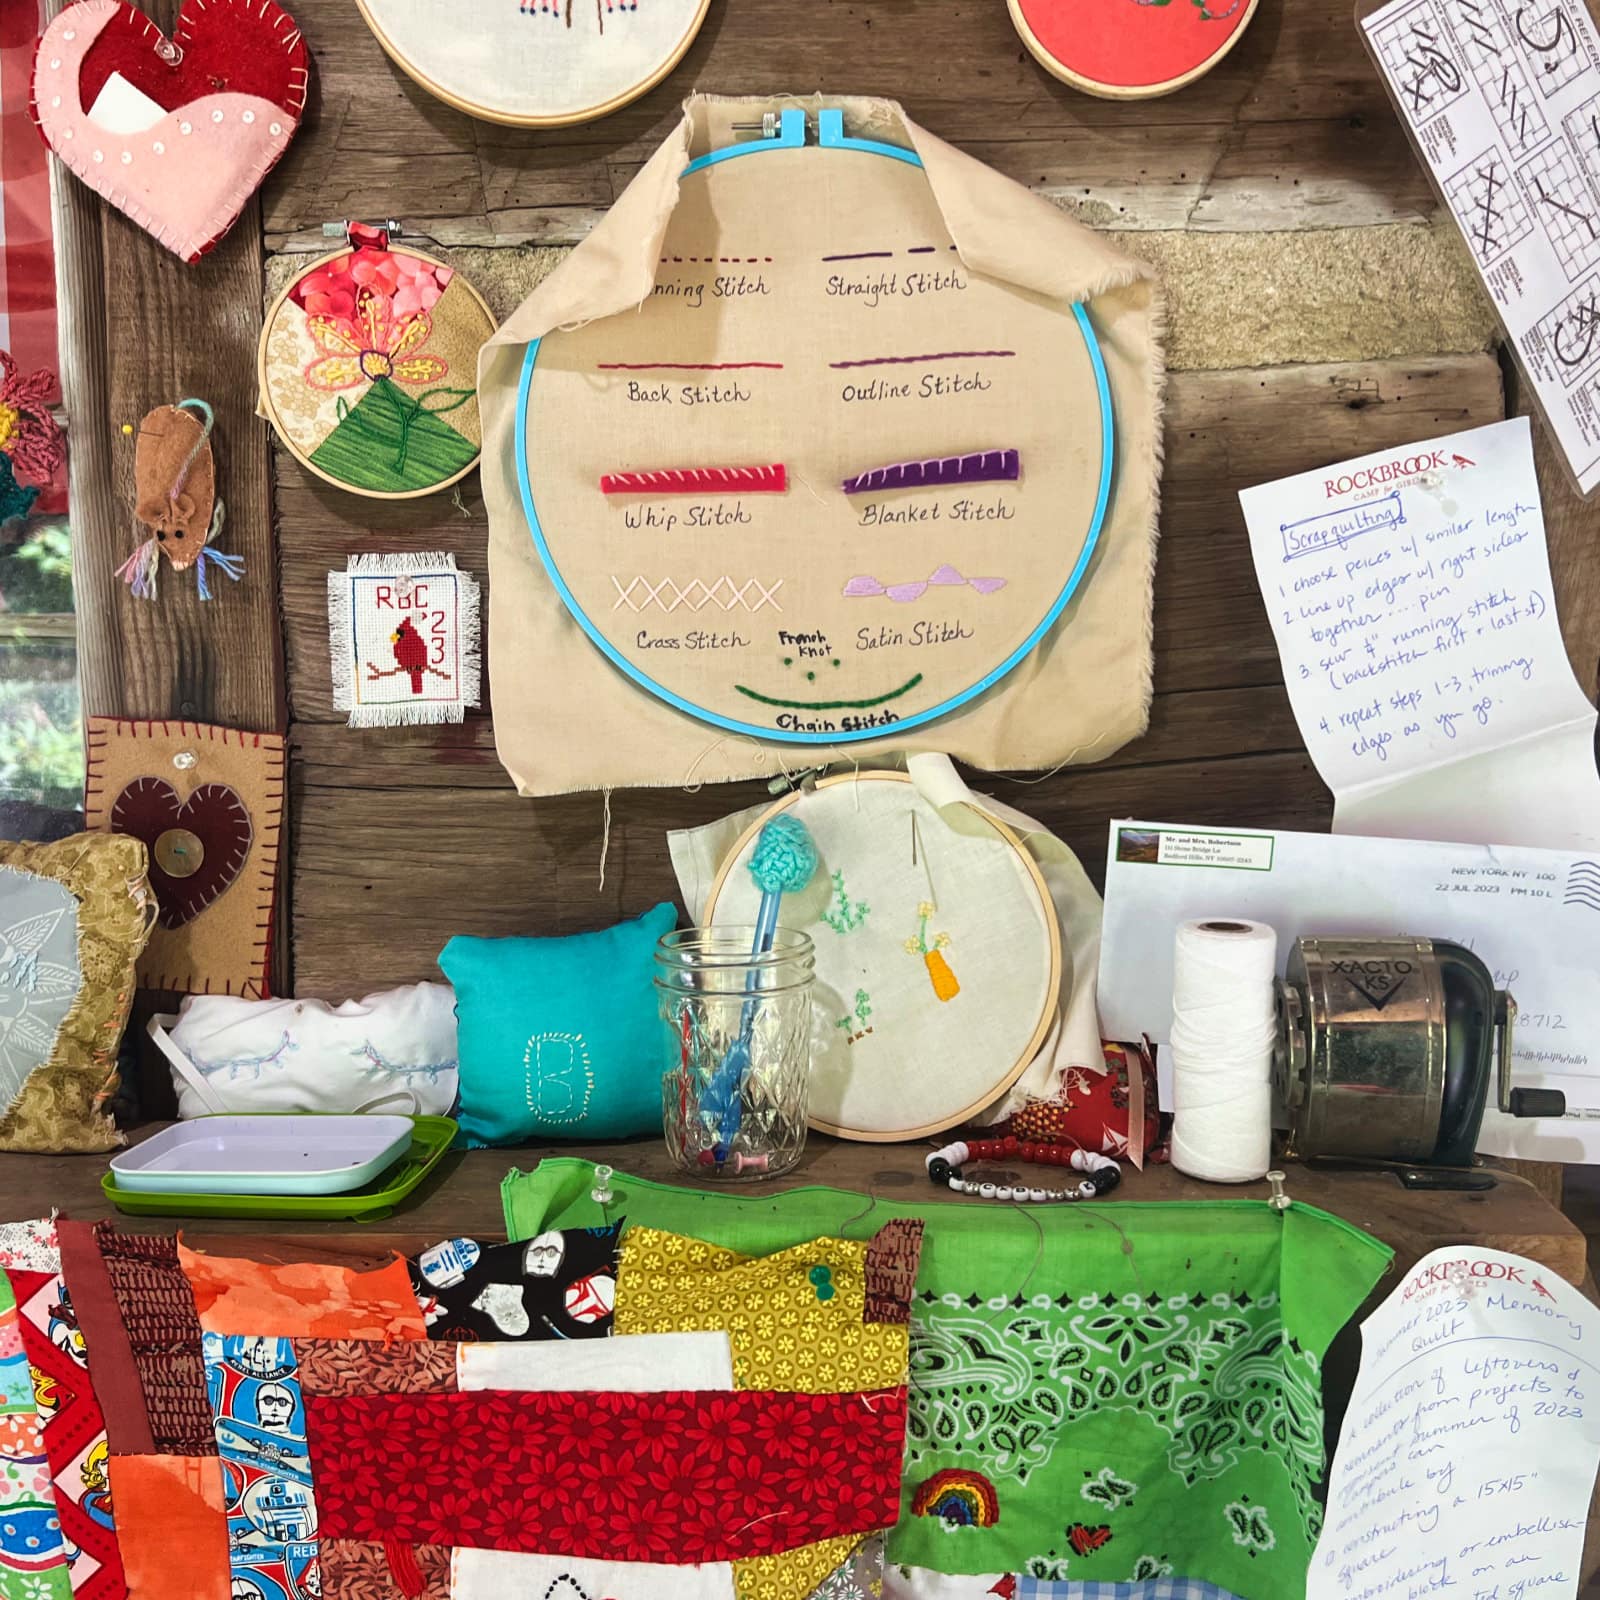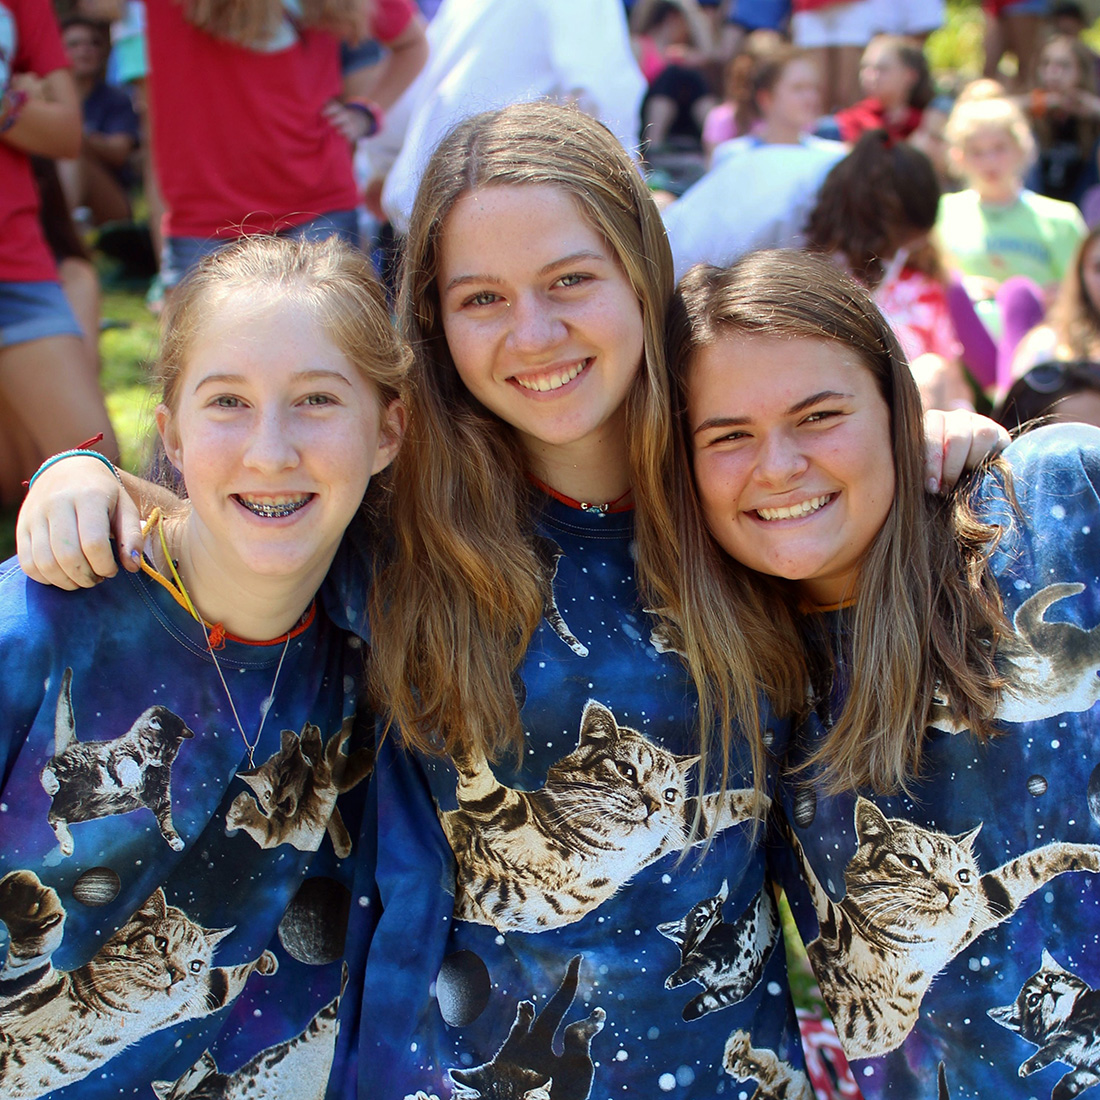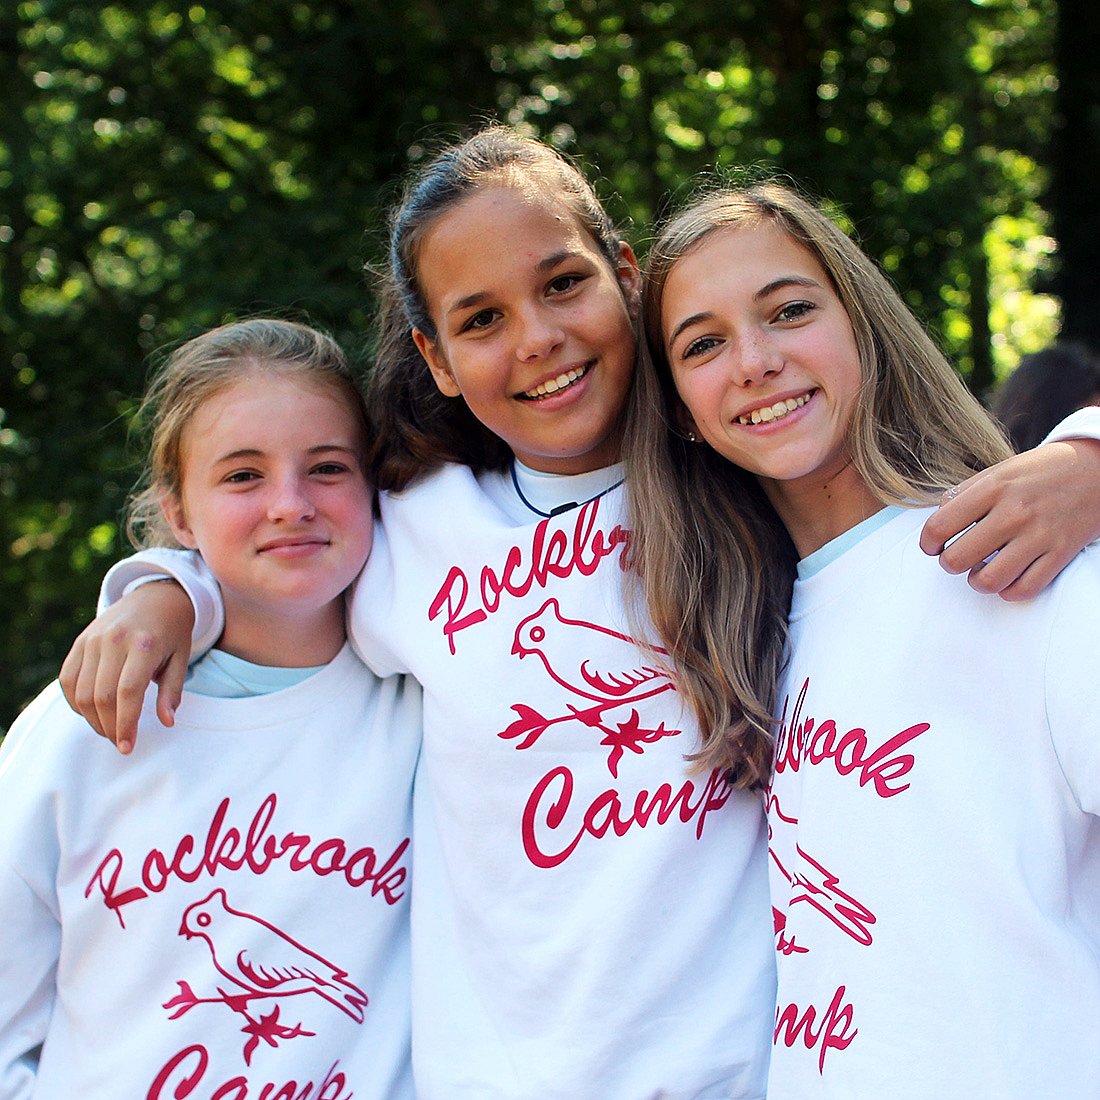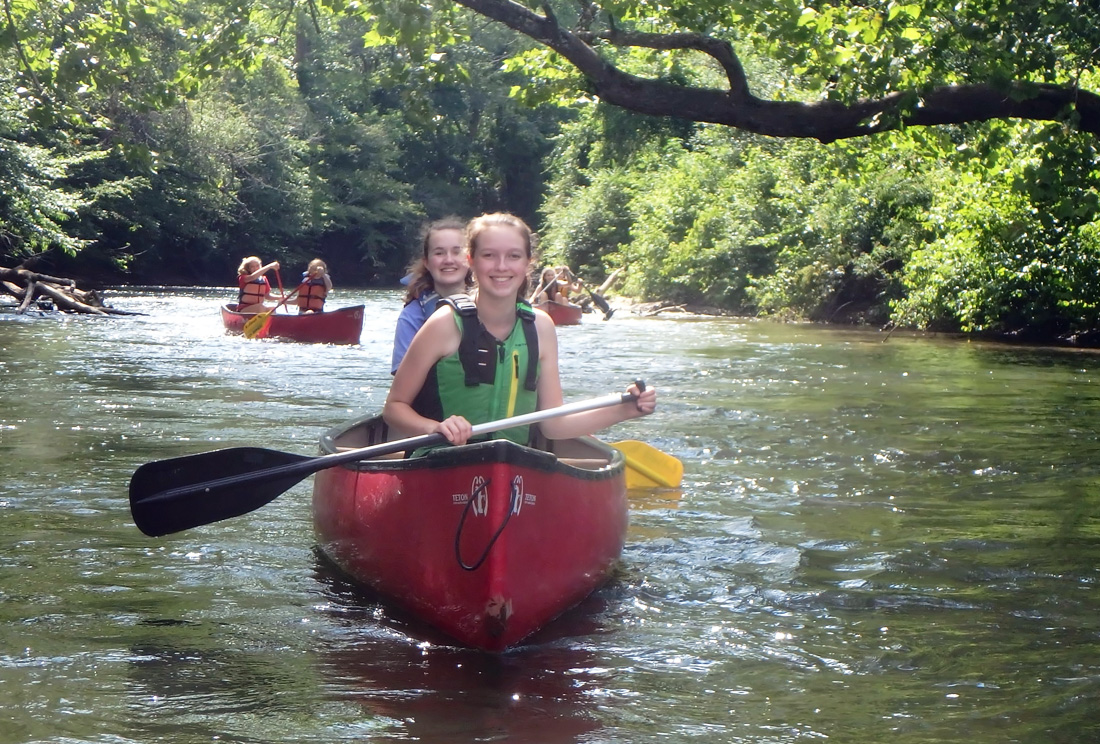
It’s common for Alumnae of Rockbrook to return to camp. They’ll tell you fondly about their childhood experience being a camper here, and how they feel drawn to relive bits of it by coming for a visit. They might be dropping off their own daughters as campers, or working as a “camp mom” one session, or just stopping by while traveling in the area. We love having alumnae back at camp!
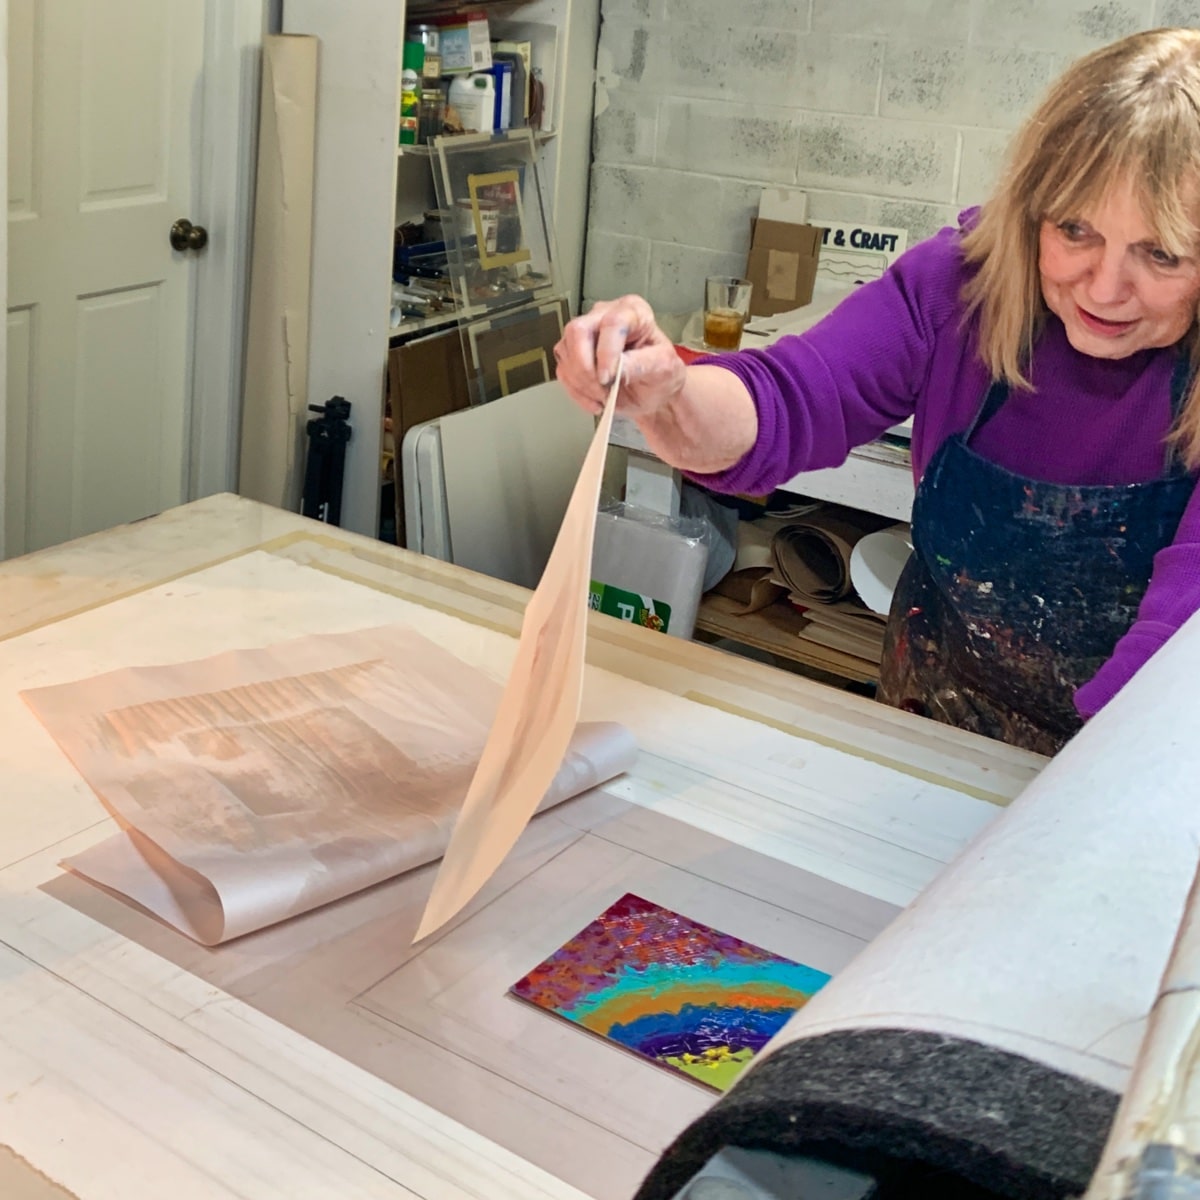
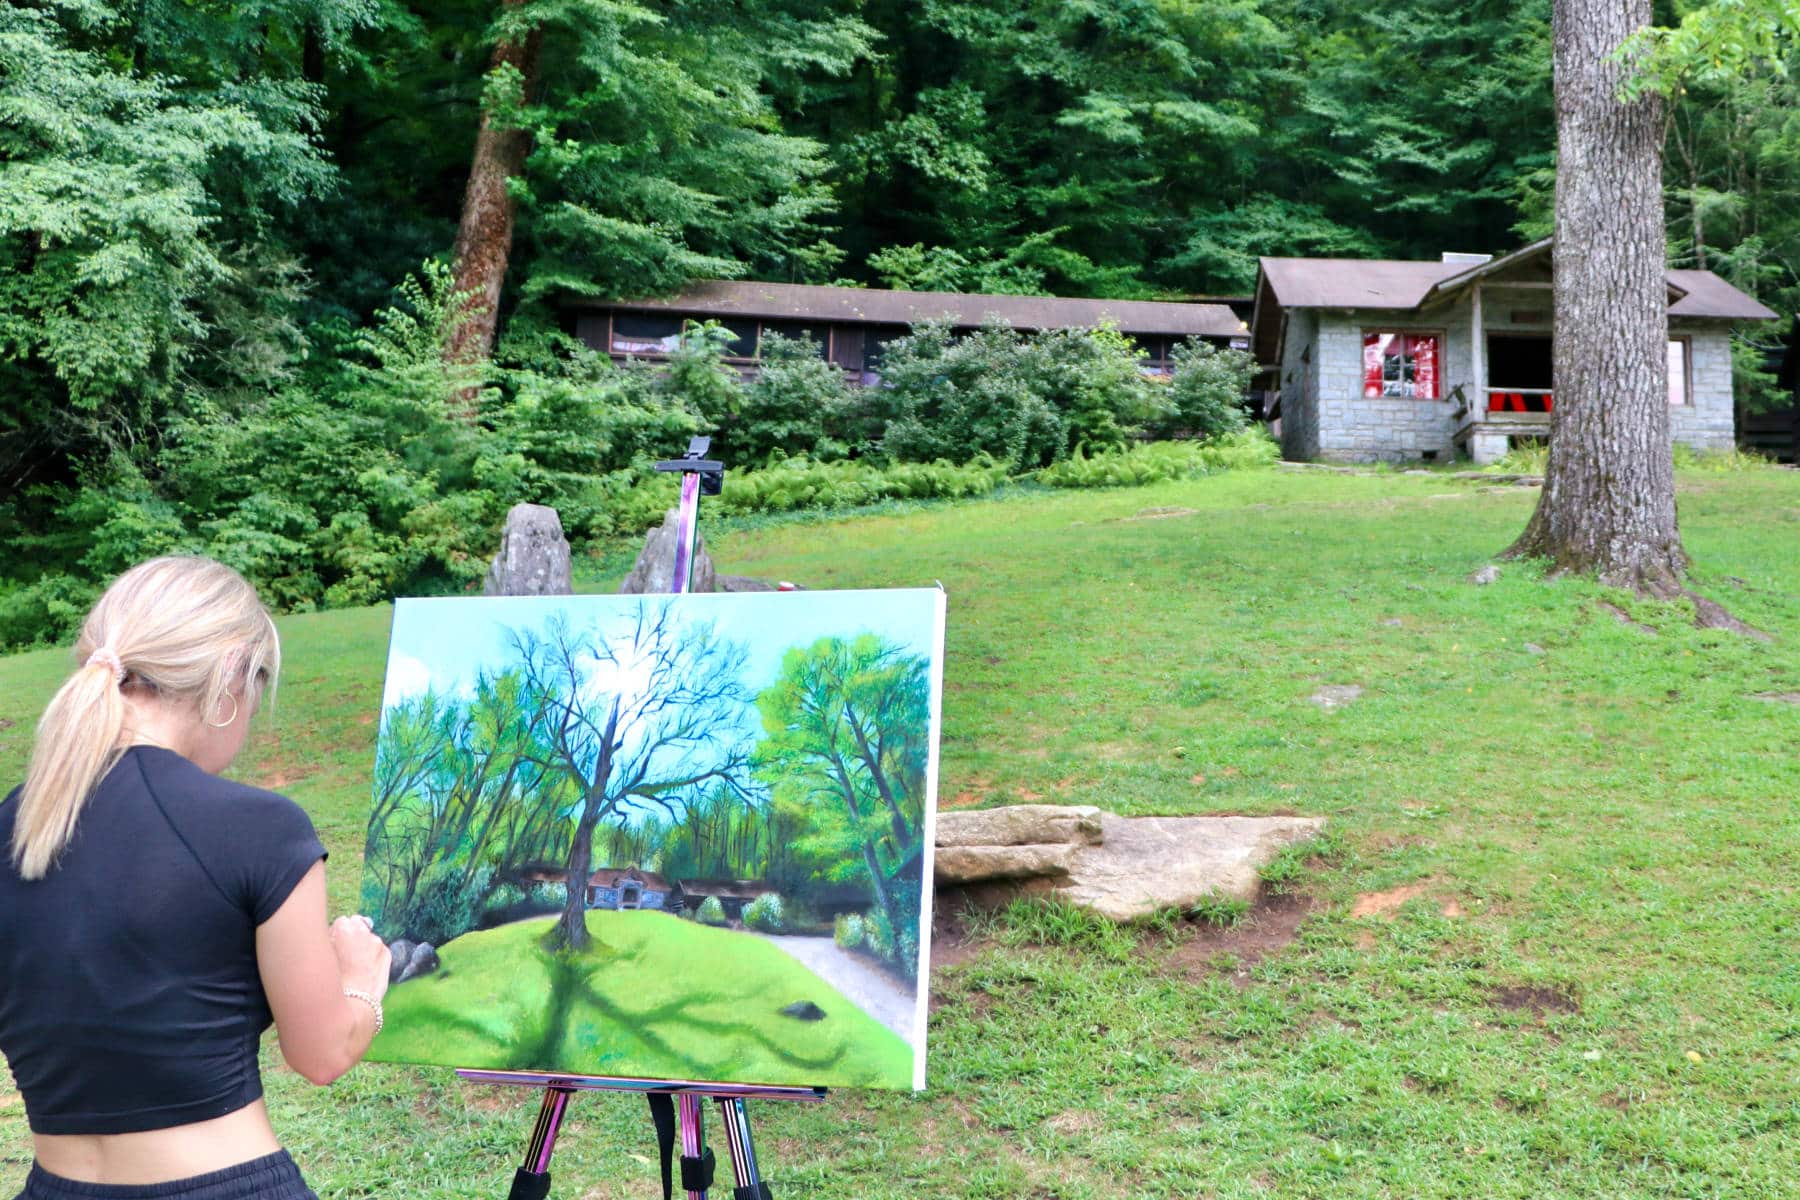
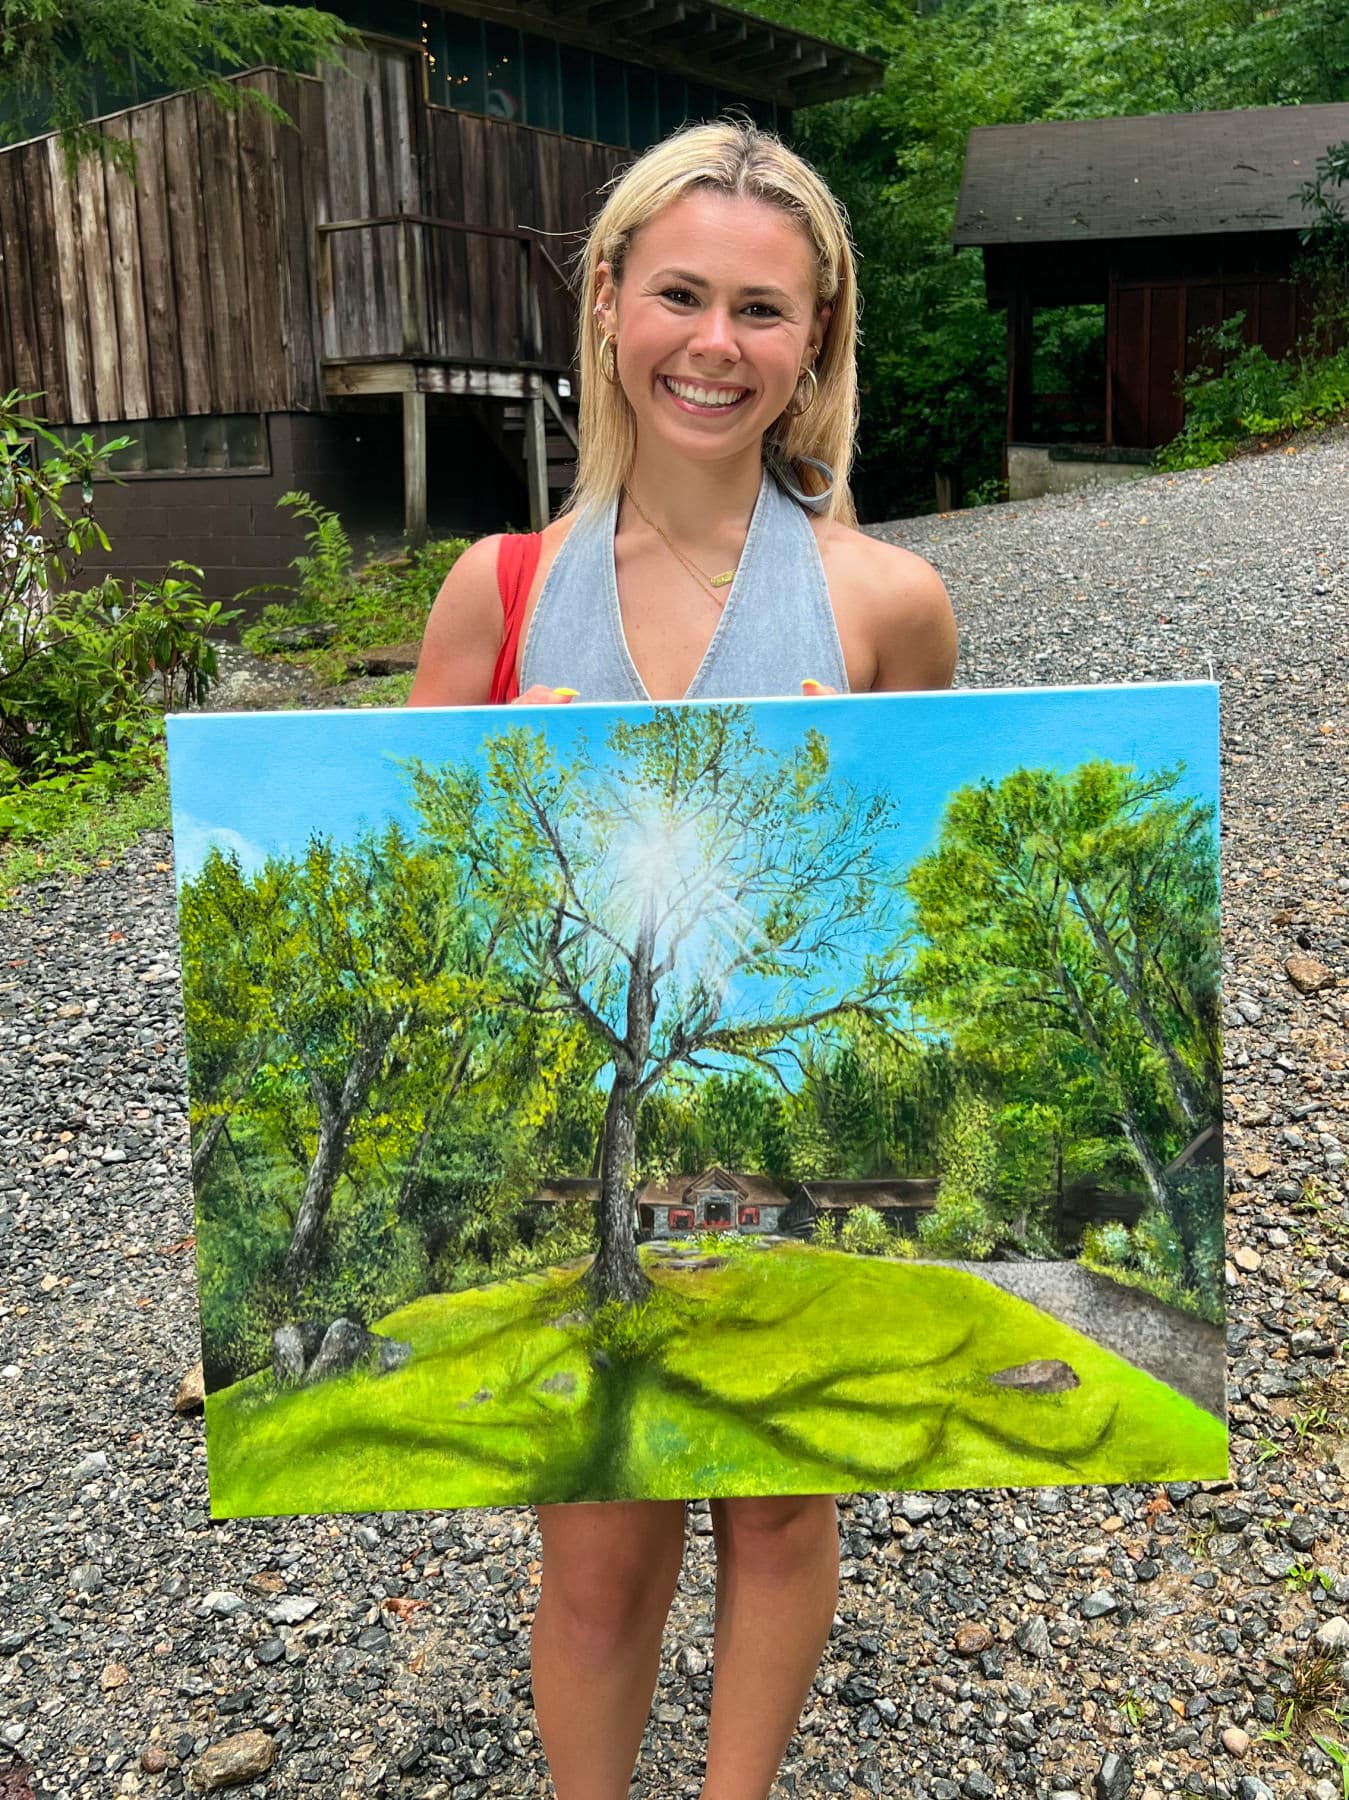
One Rockbrook alum who returned to camp this week is Lauren Bonner. She was a camper for 10 years starting when she was in 1st grade, following her mother, who was also a camper in 1980s. She was also a CIT one summer. Lauren now attends the Savannah College of Art and Design in Georgia, where she is a senior majoring in Painting. She is also an award-winning independent artist. She focuses on realism in her work with pop art being a favorite subject. You can learn more about Lauren at her website, and she has a fascinating Instagram page. Watch some of her Reels to see her painting in action.
Landscape Painting Demonstration
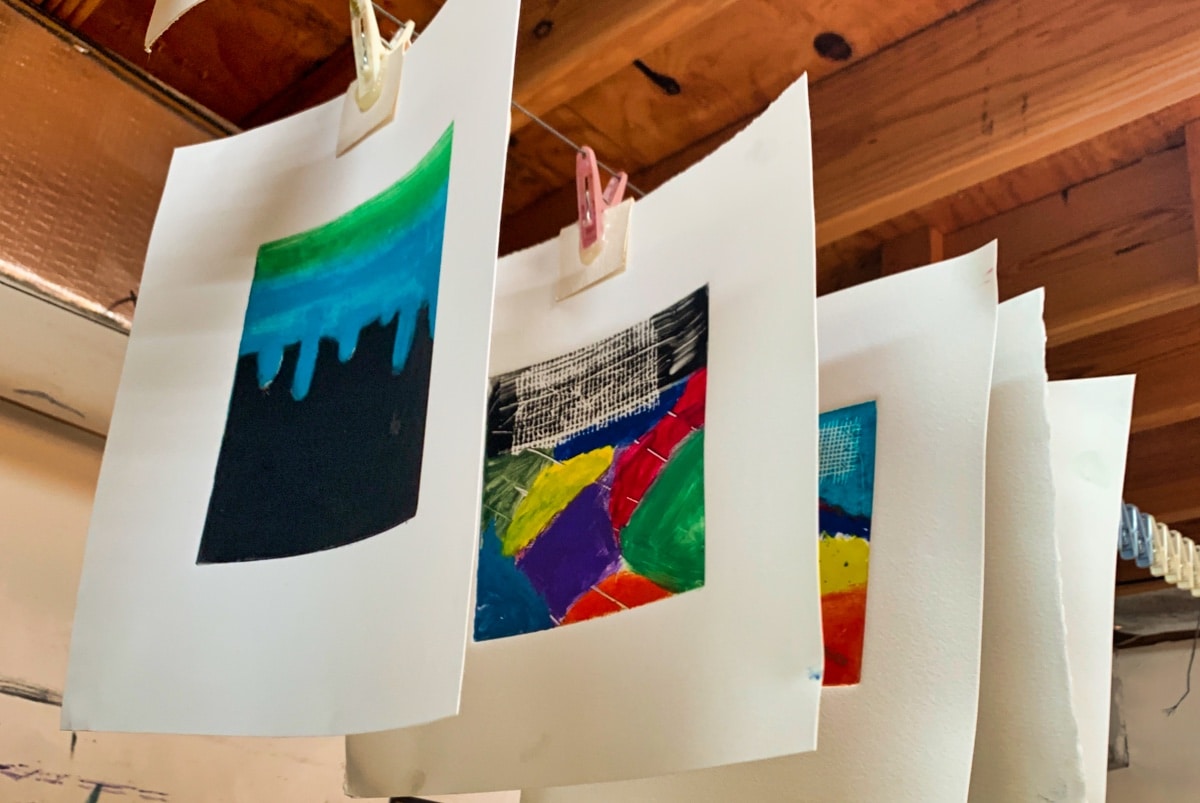
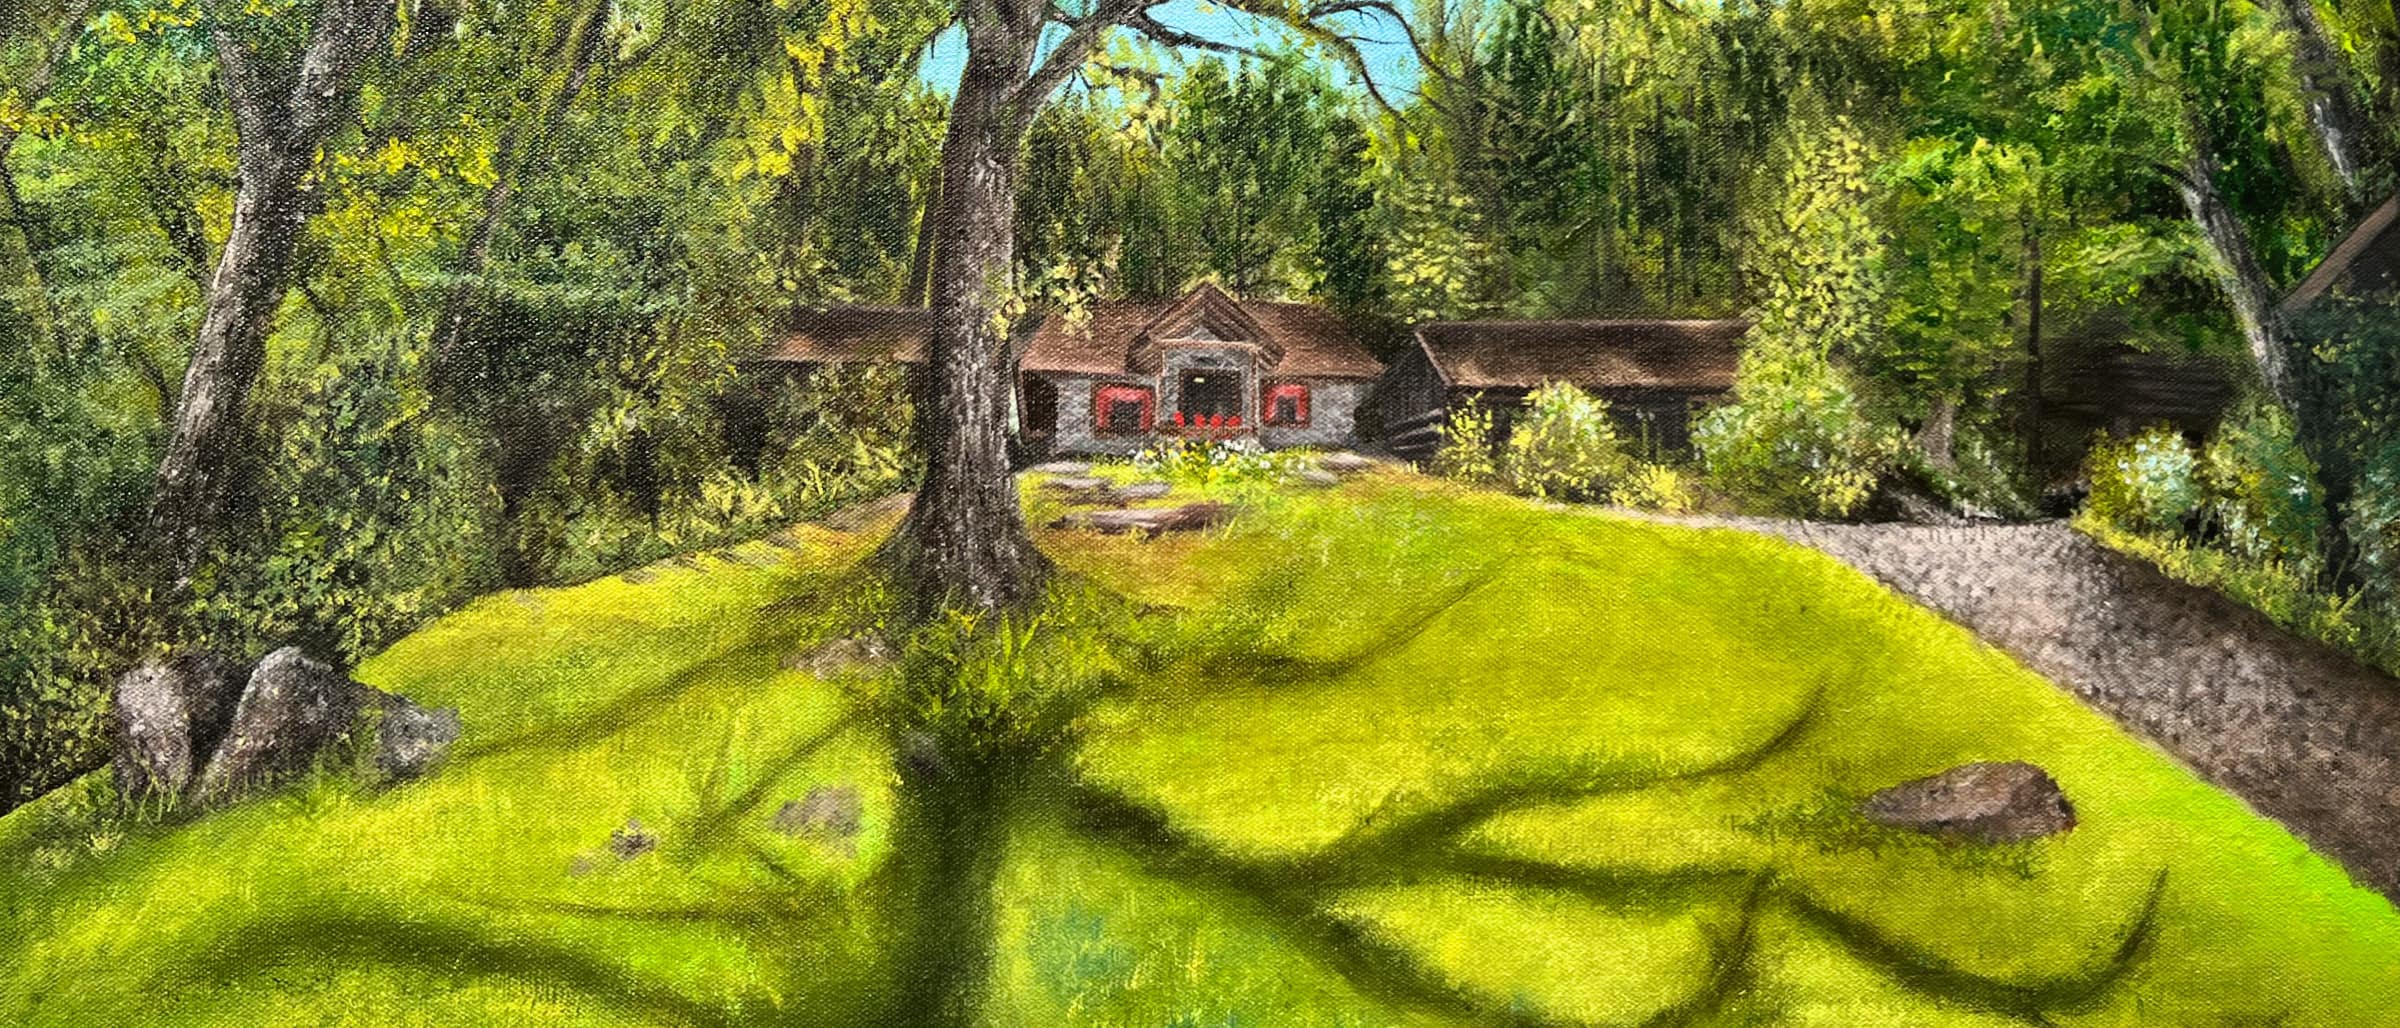
Why was Lauren back at Rockbrook? She was here for a few days for a landscape painting demonstration and to teach a painting workshop for our campers. Lauren set up a blank canvas on the hill, and began to capture the view up toward the Junior Lodge. One brush stroke at a time, she spent hours adding careful shades of green, brown and grey, bringing all the details of the scene into view on the canvas. The texture of the walnut tree, the shadow it cast on the ground, and the canopy of leaves embracing the lodge at the center are focal points of the piece. The little red chairs on the lodge porch also draw your eye.
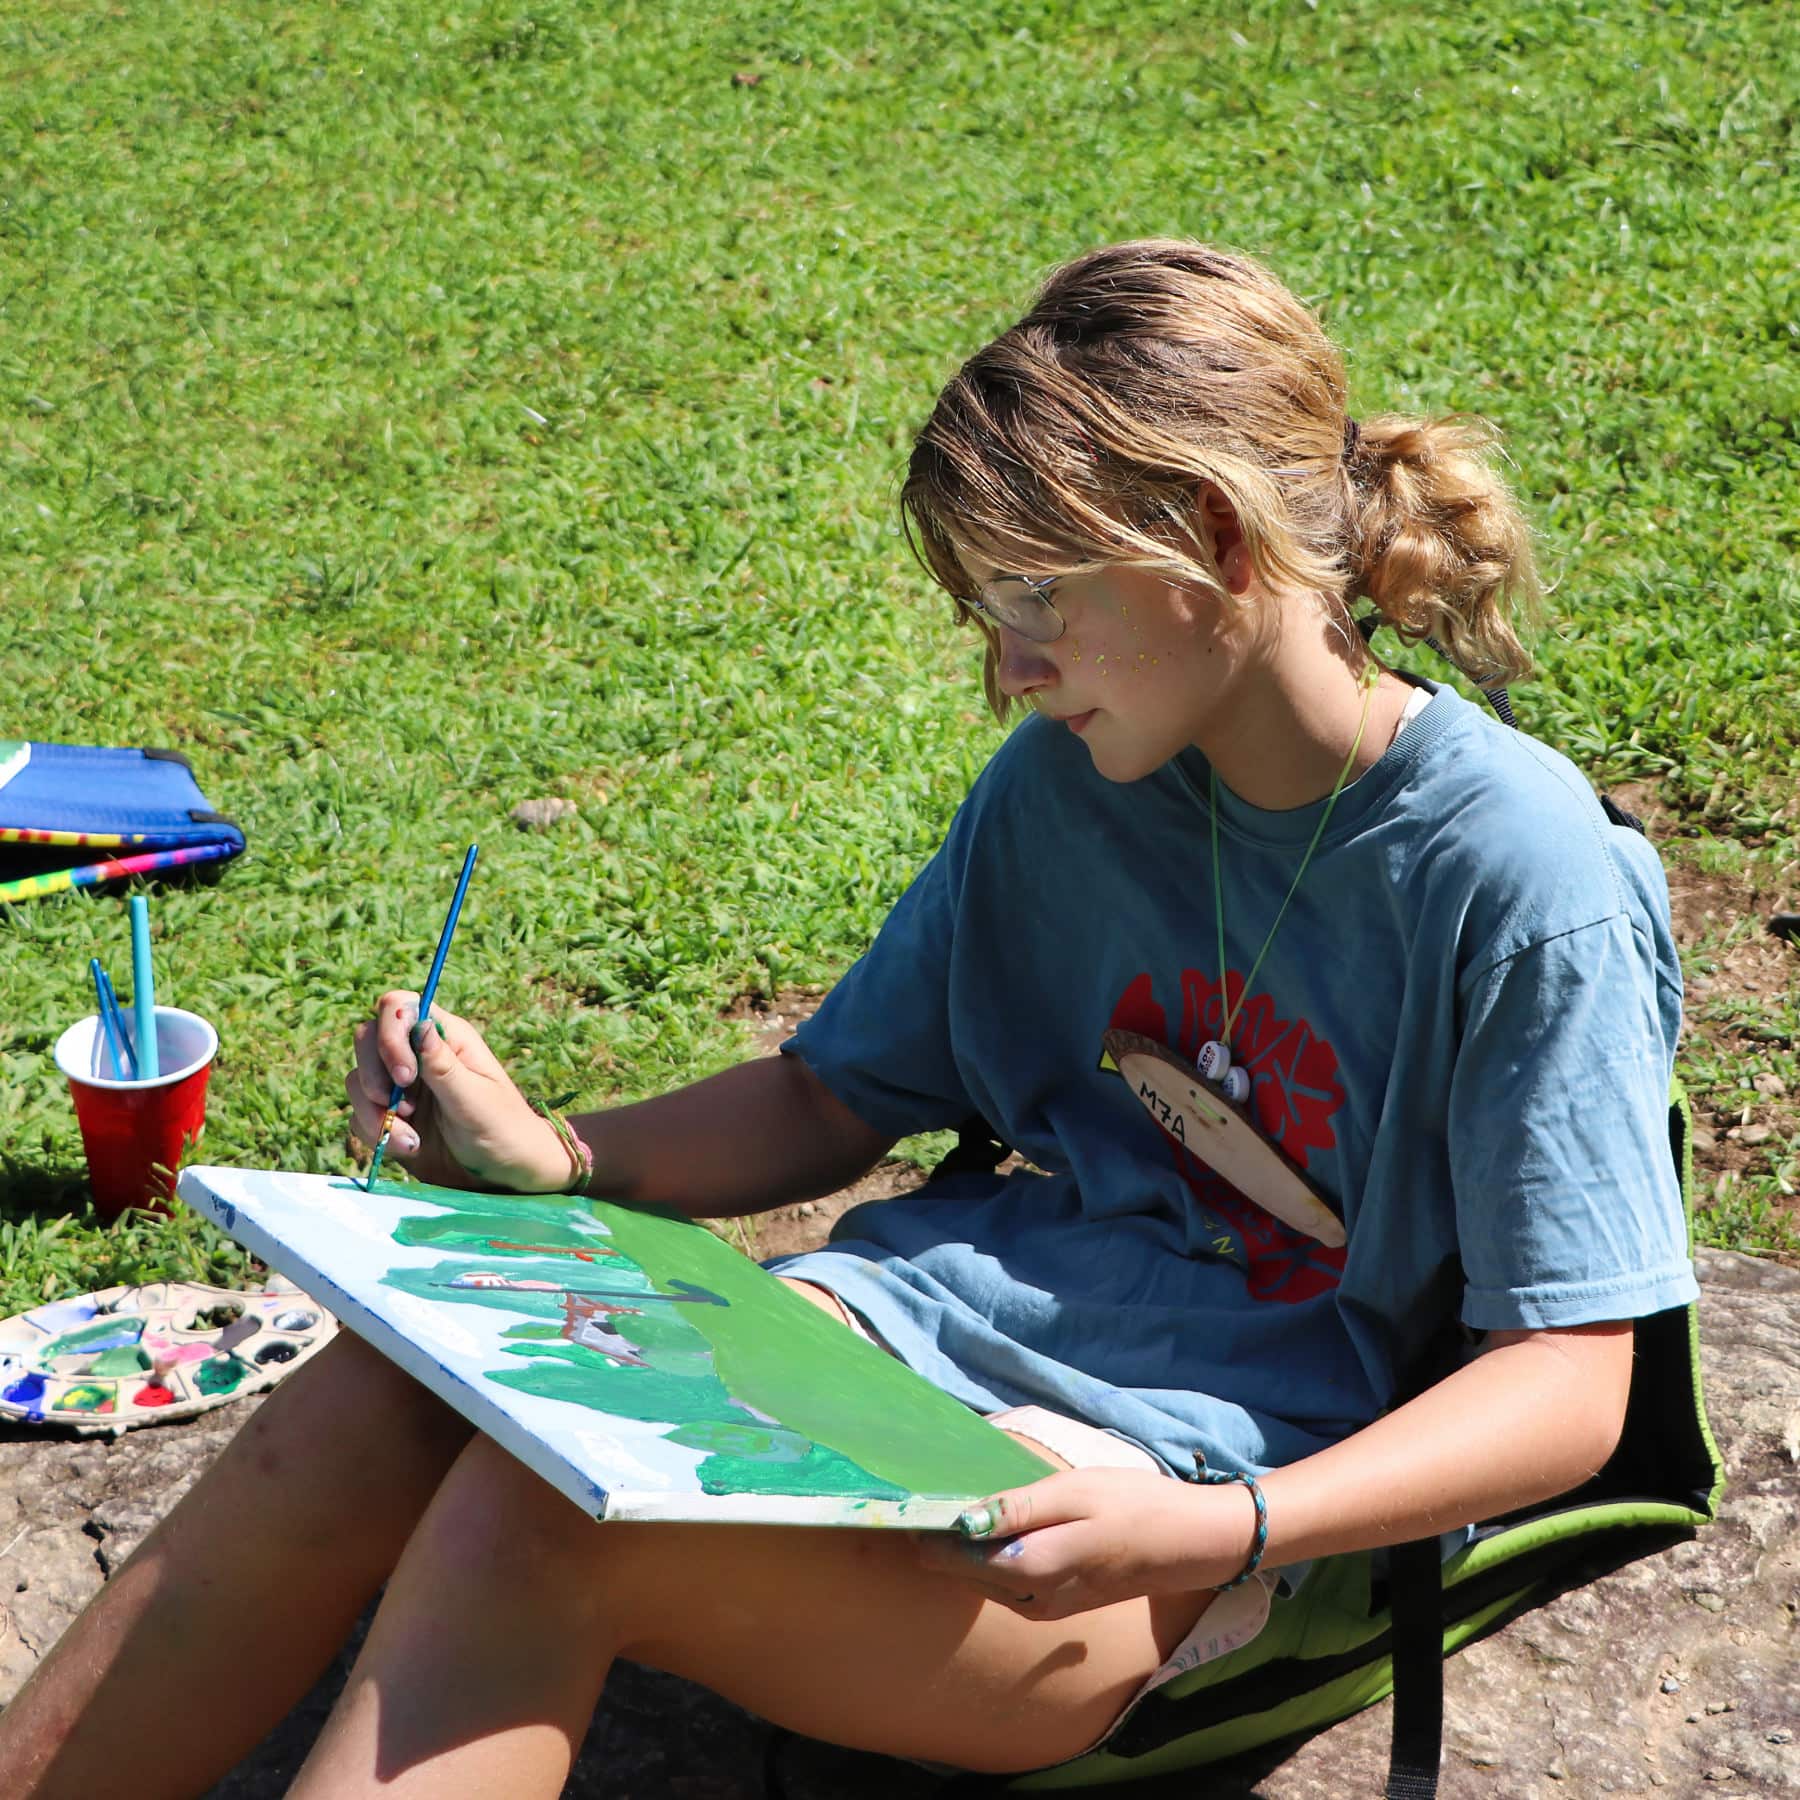
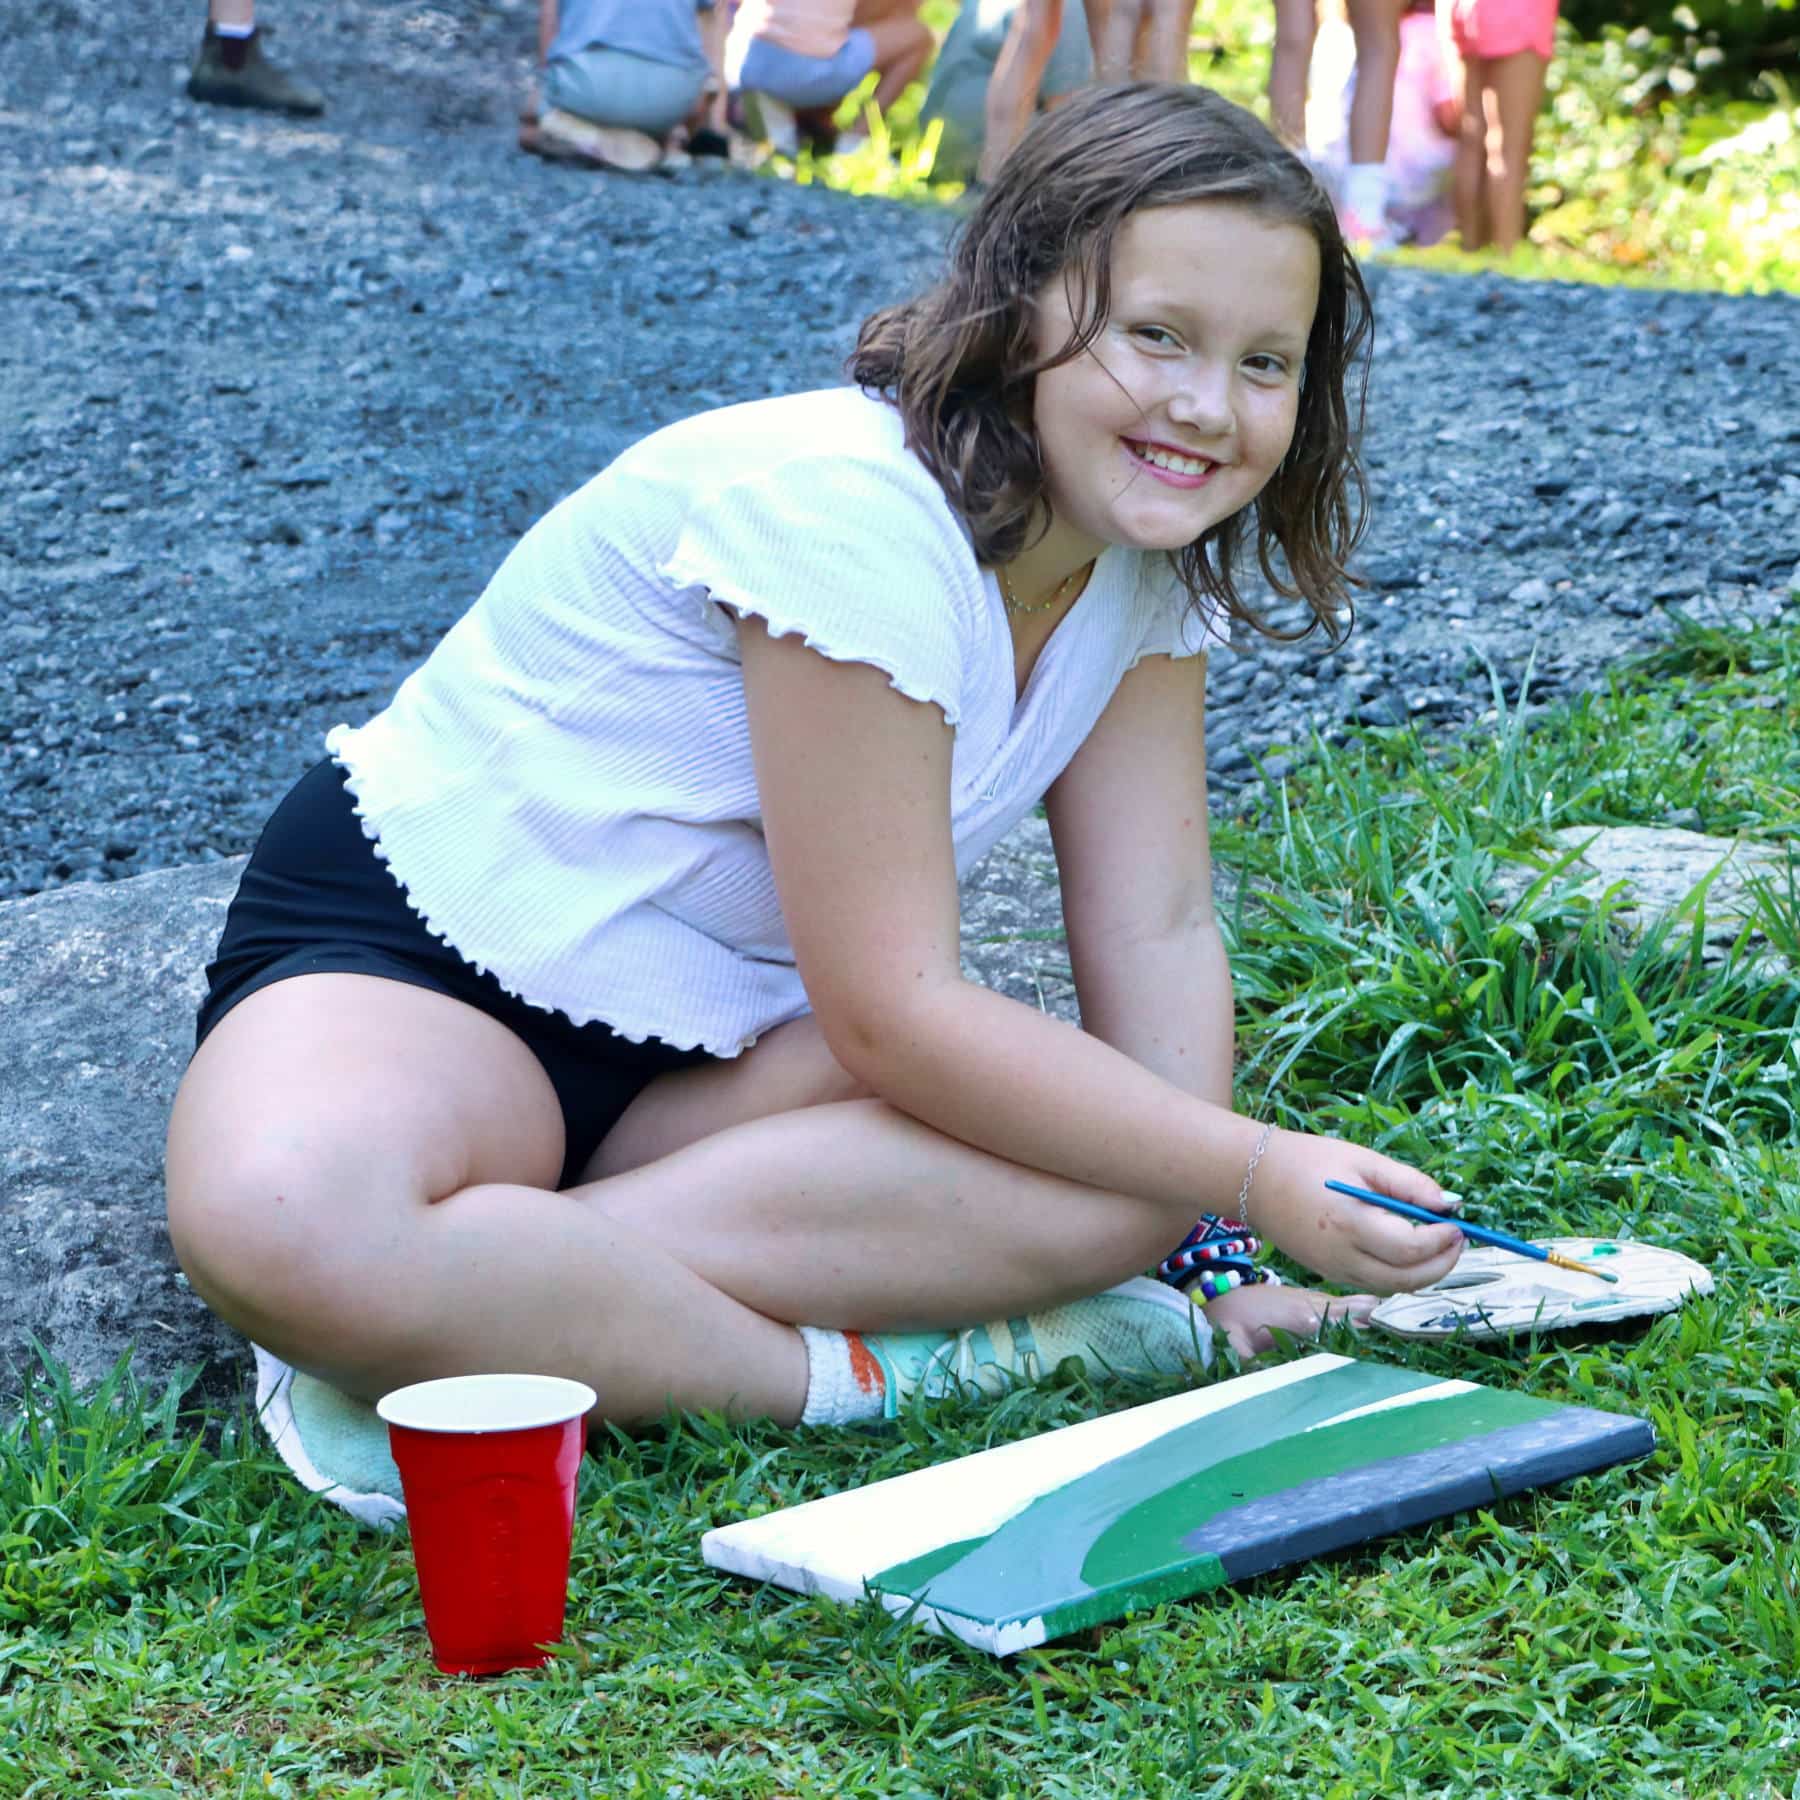
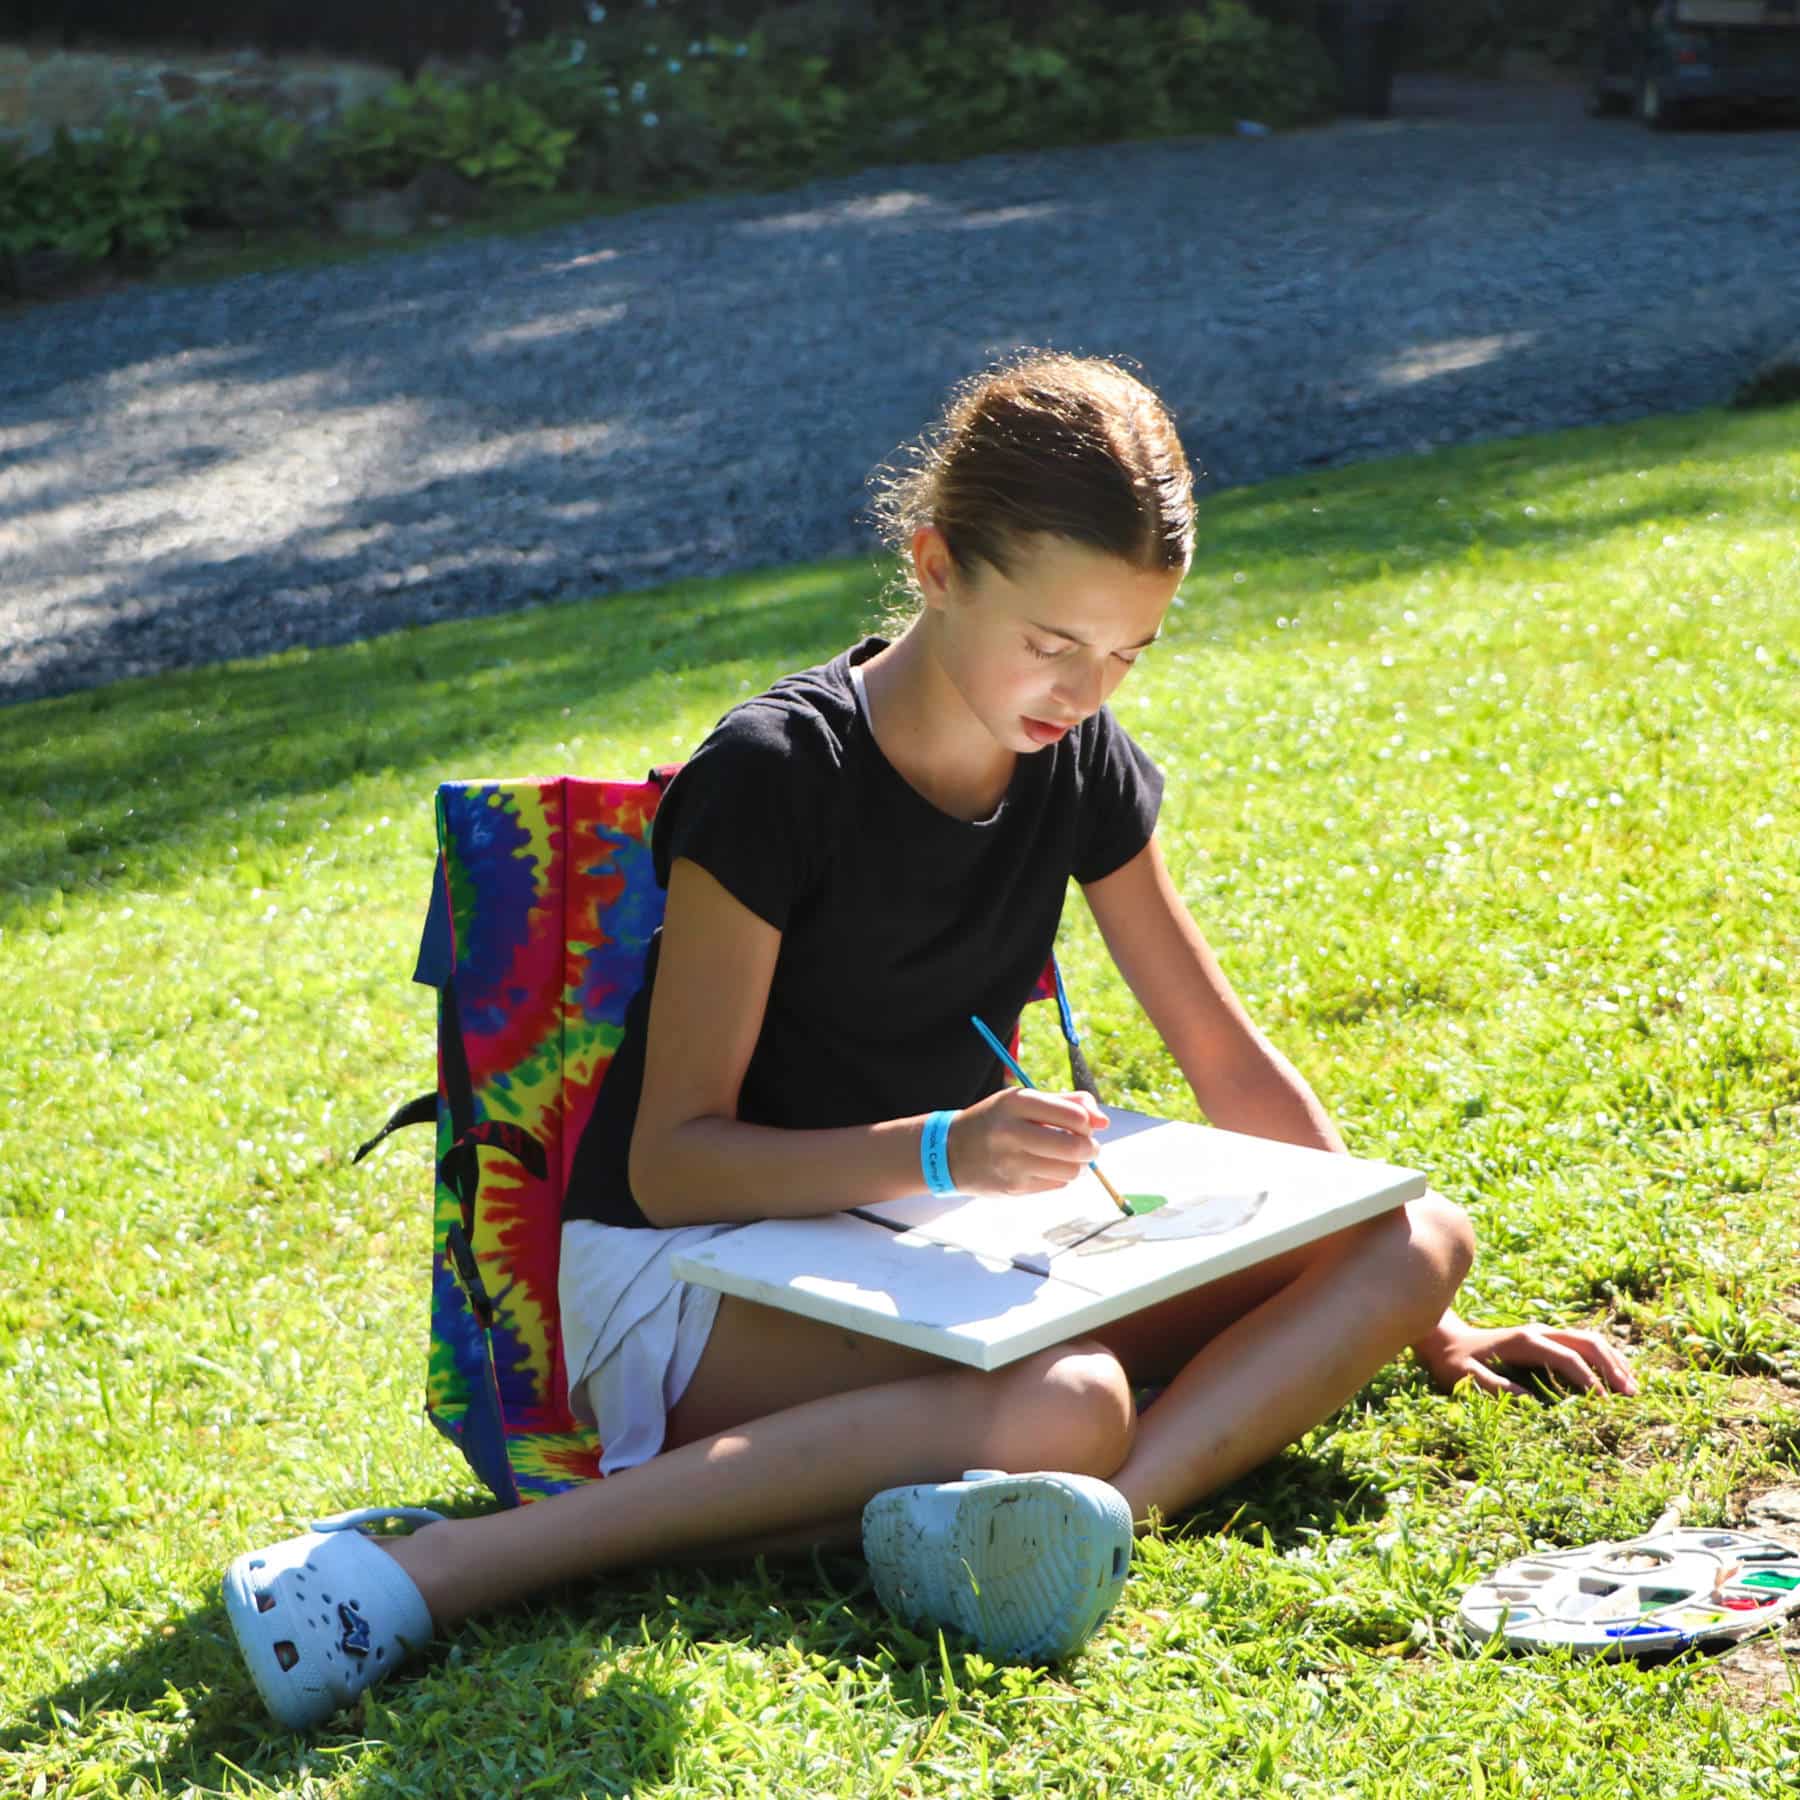
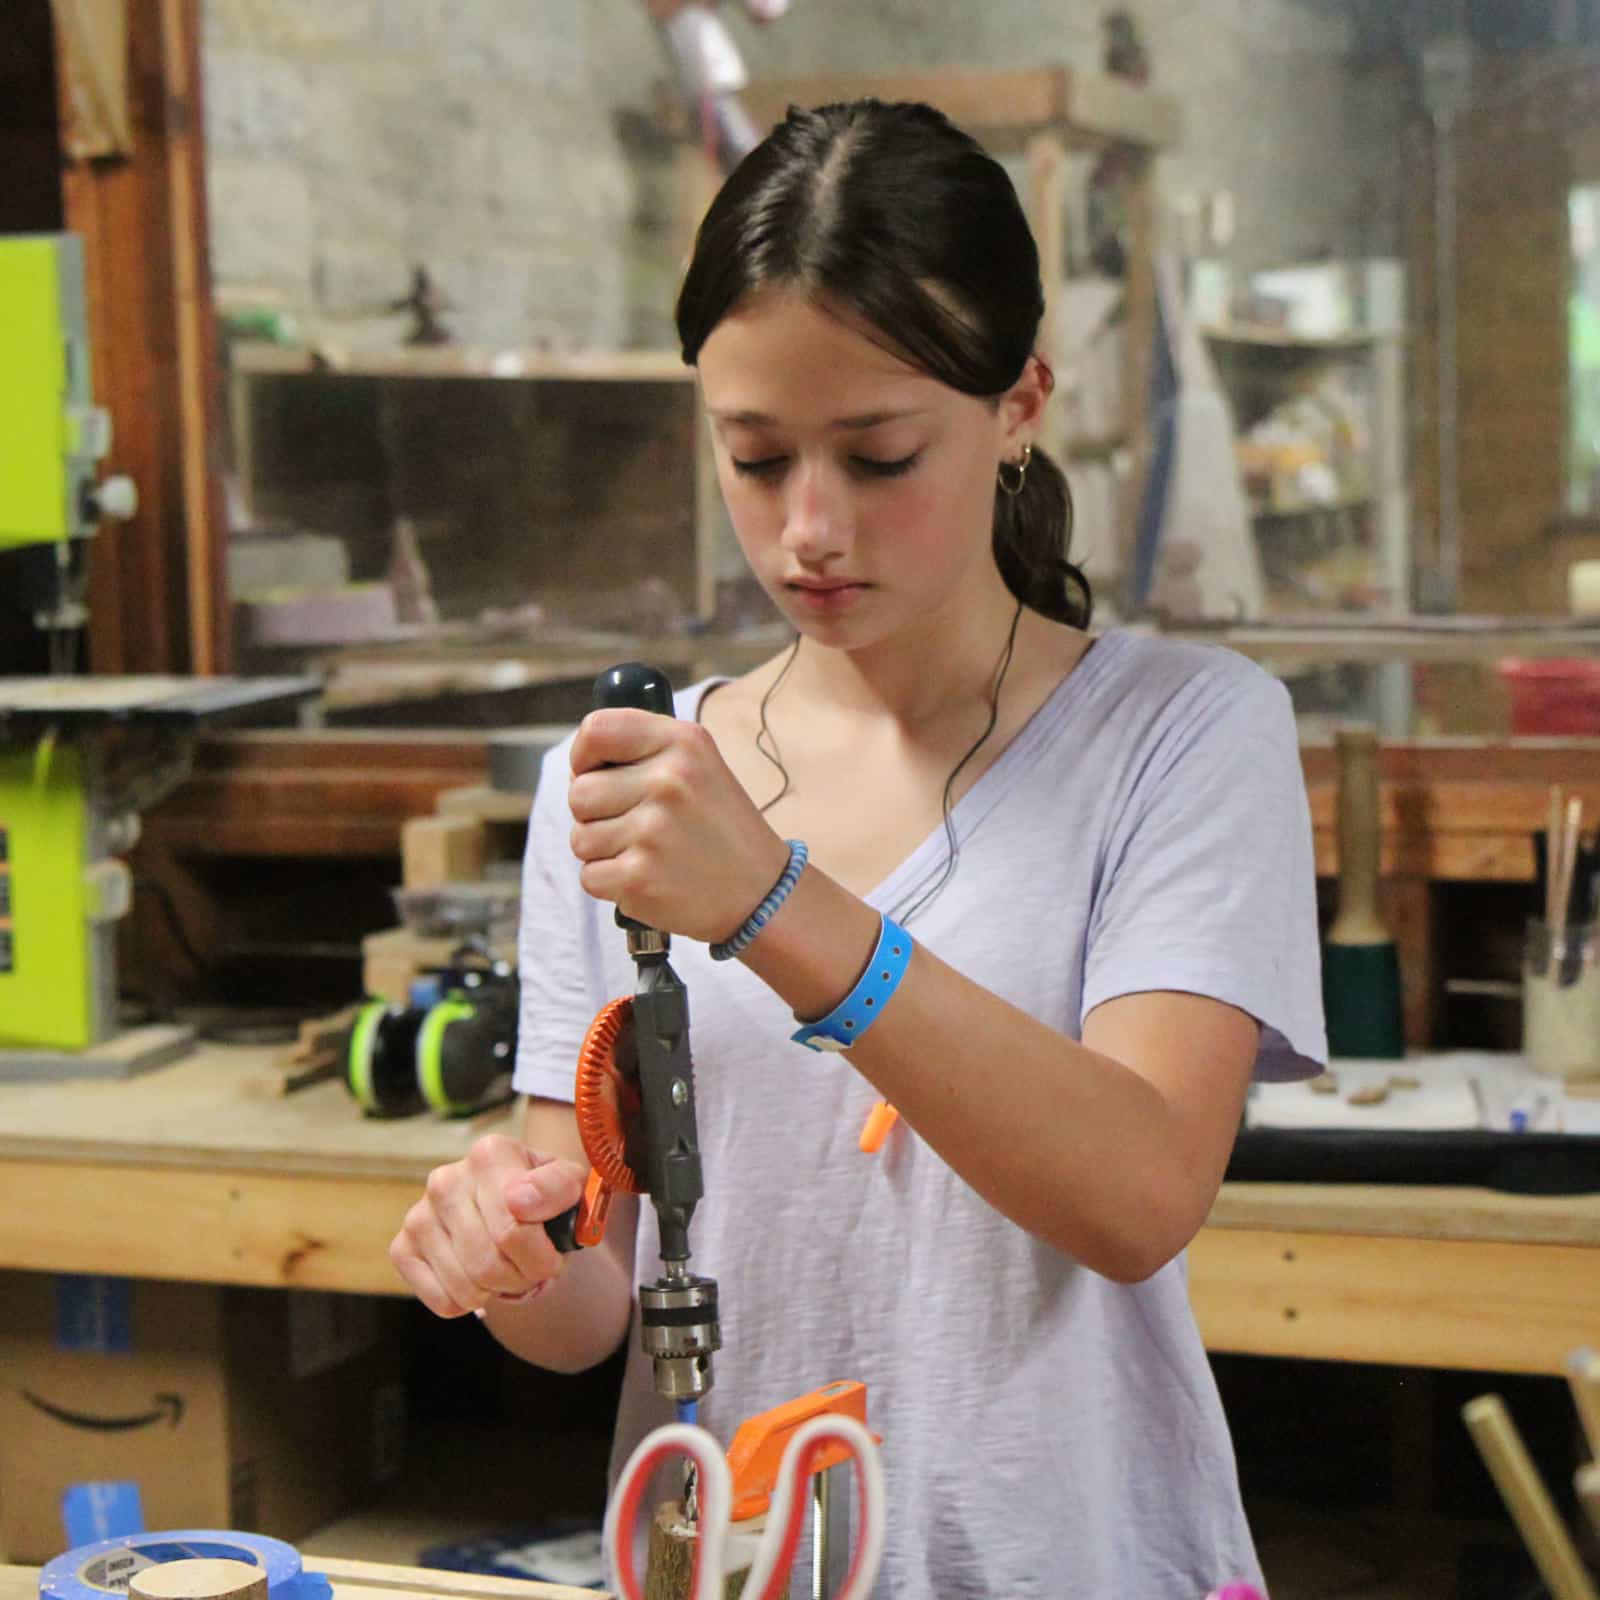
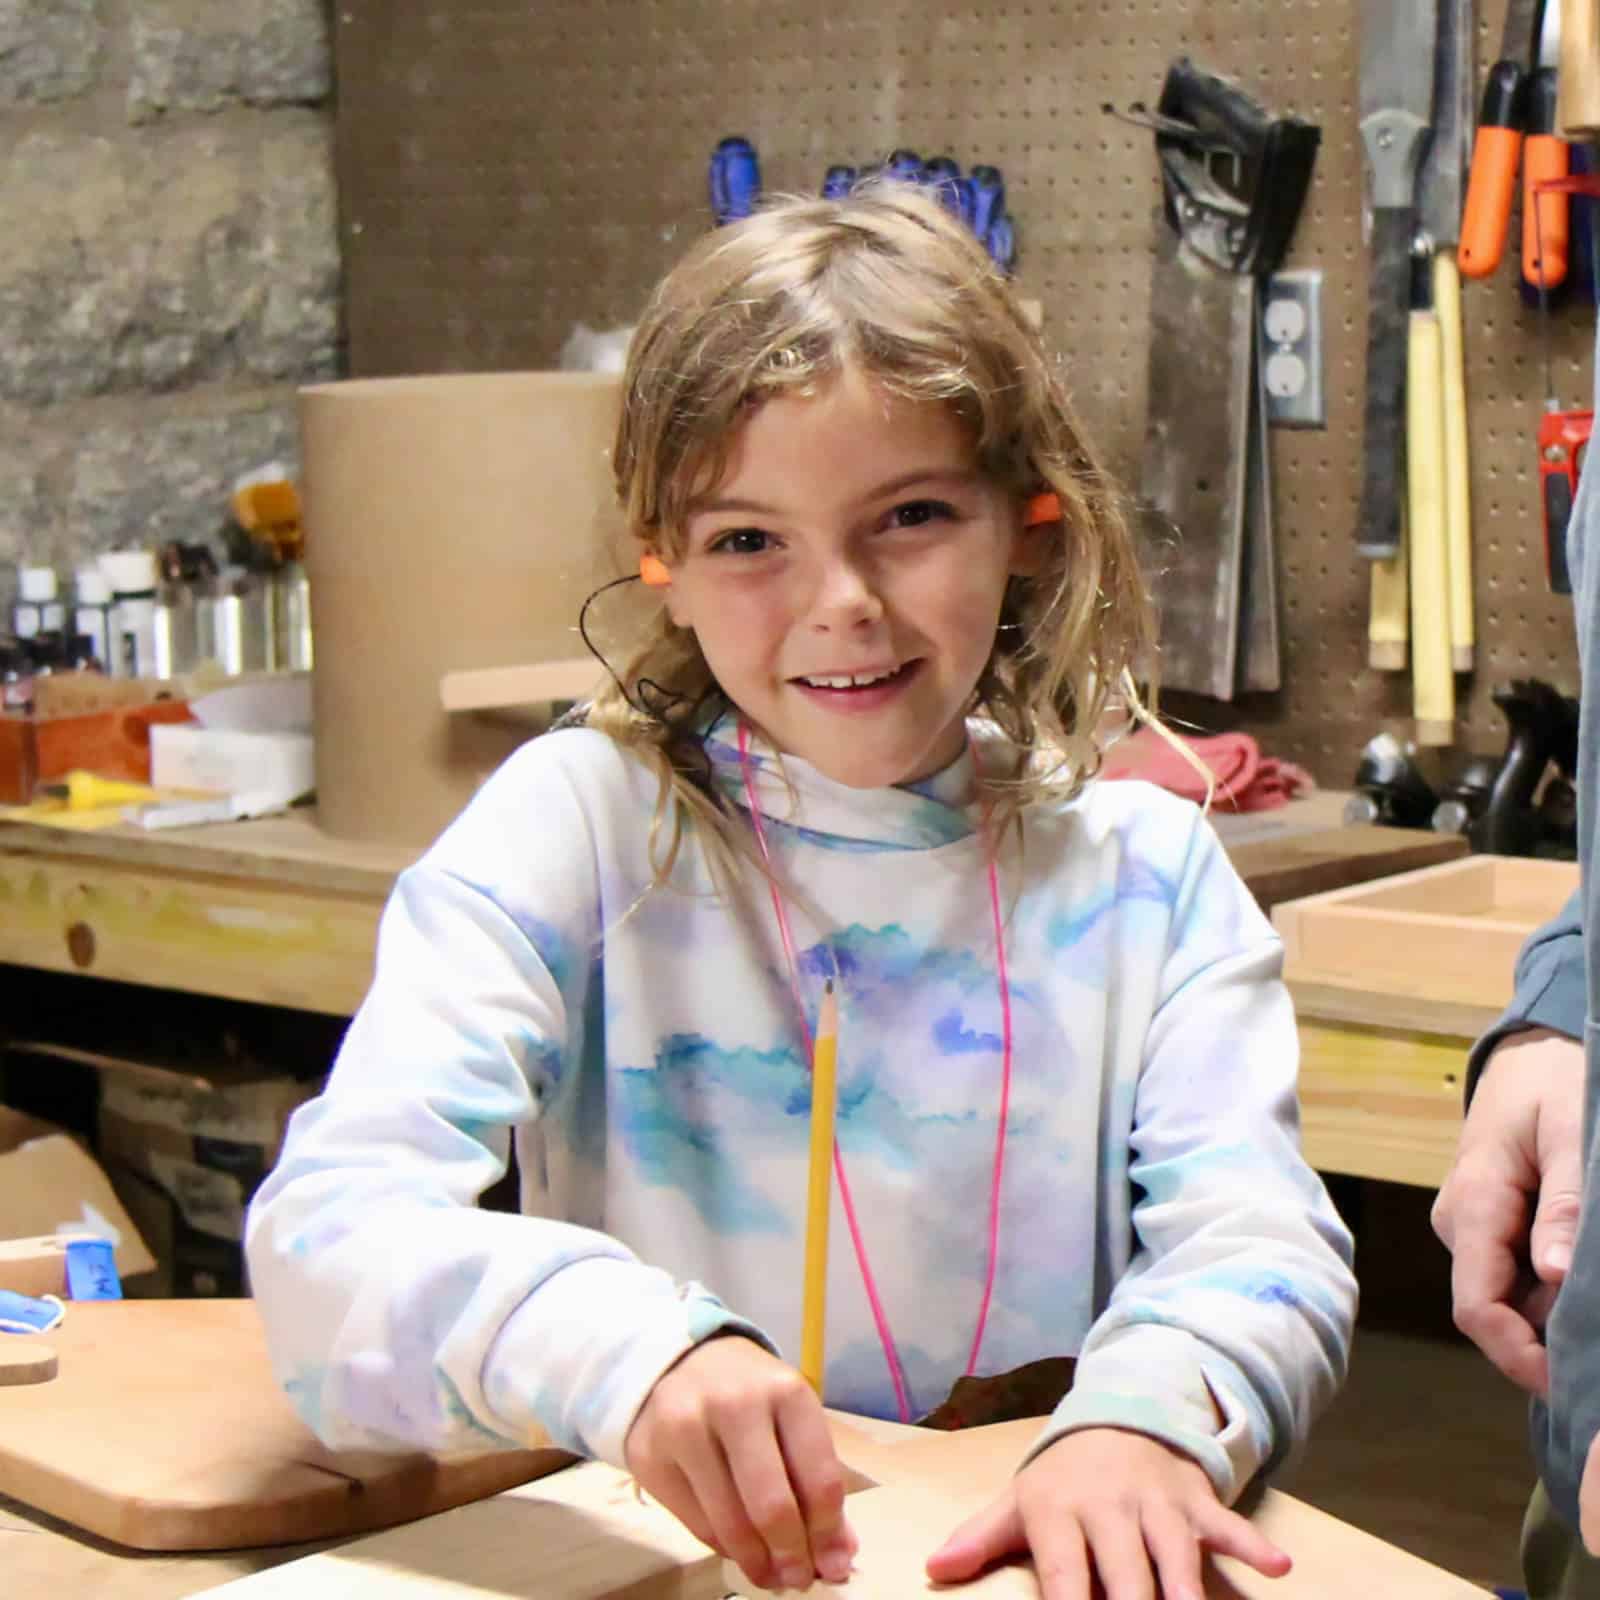
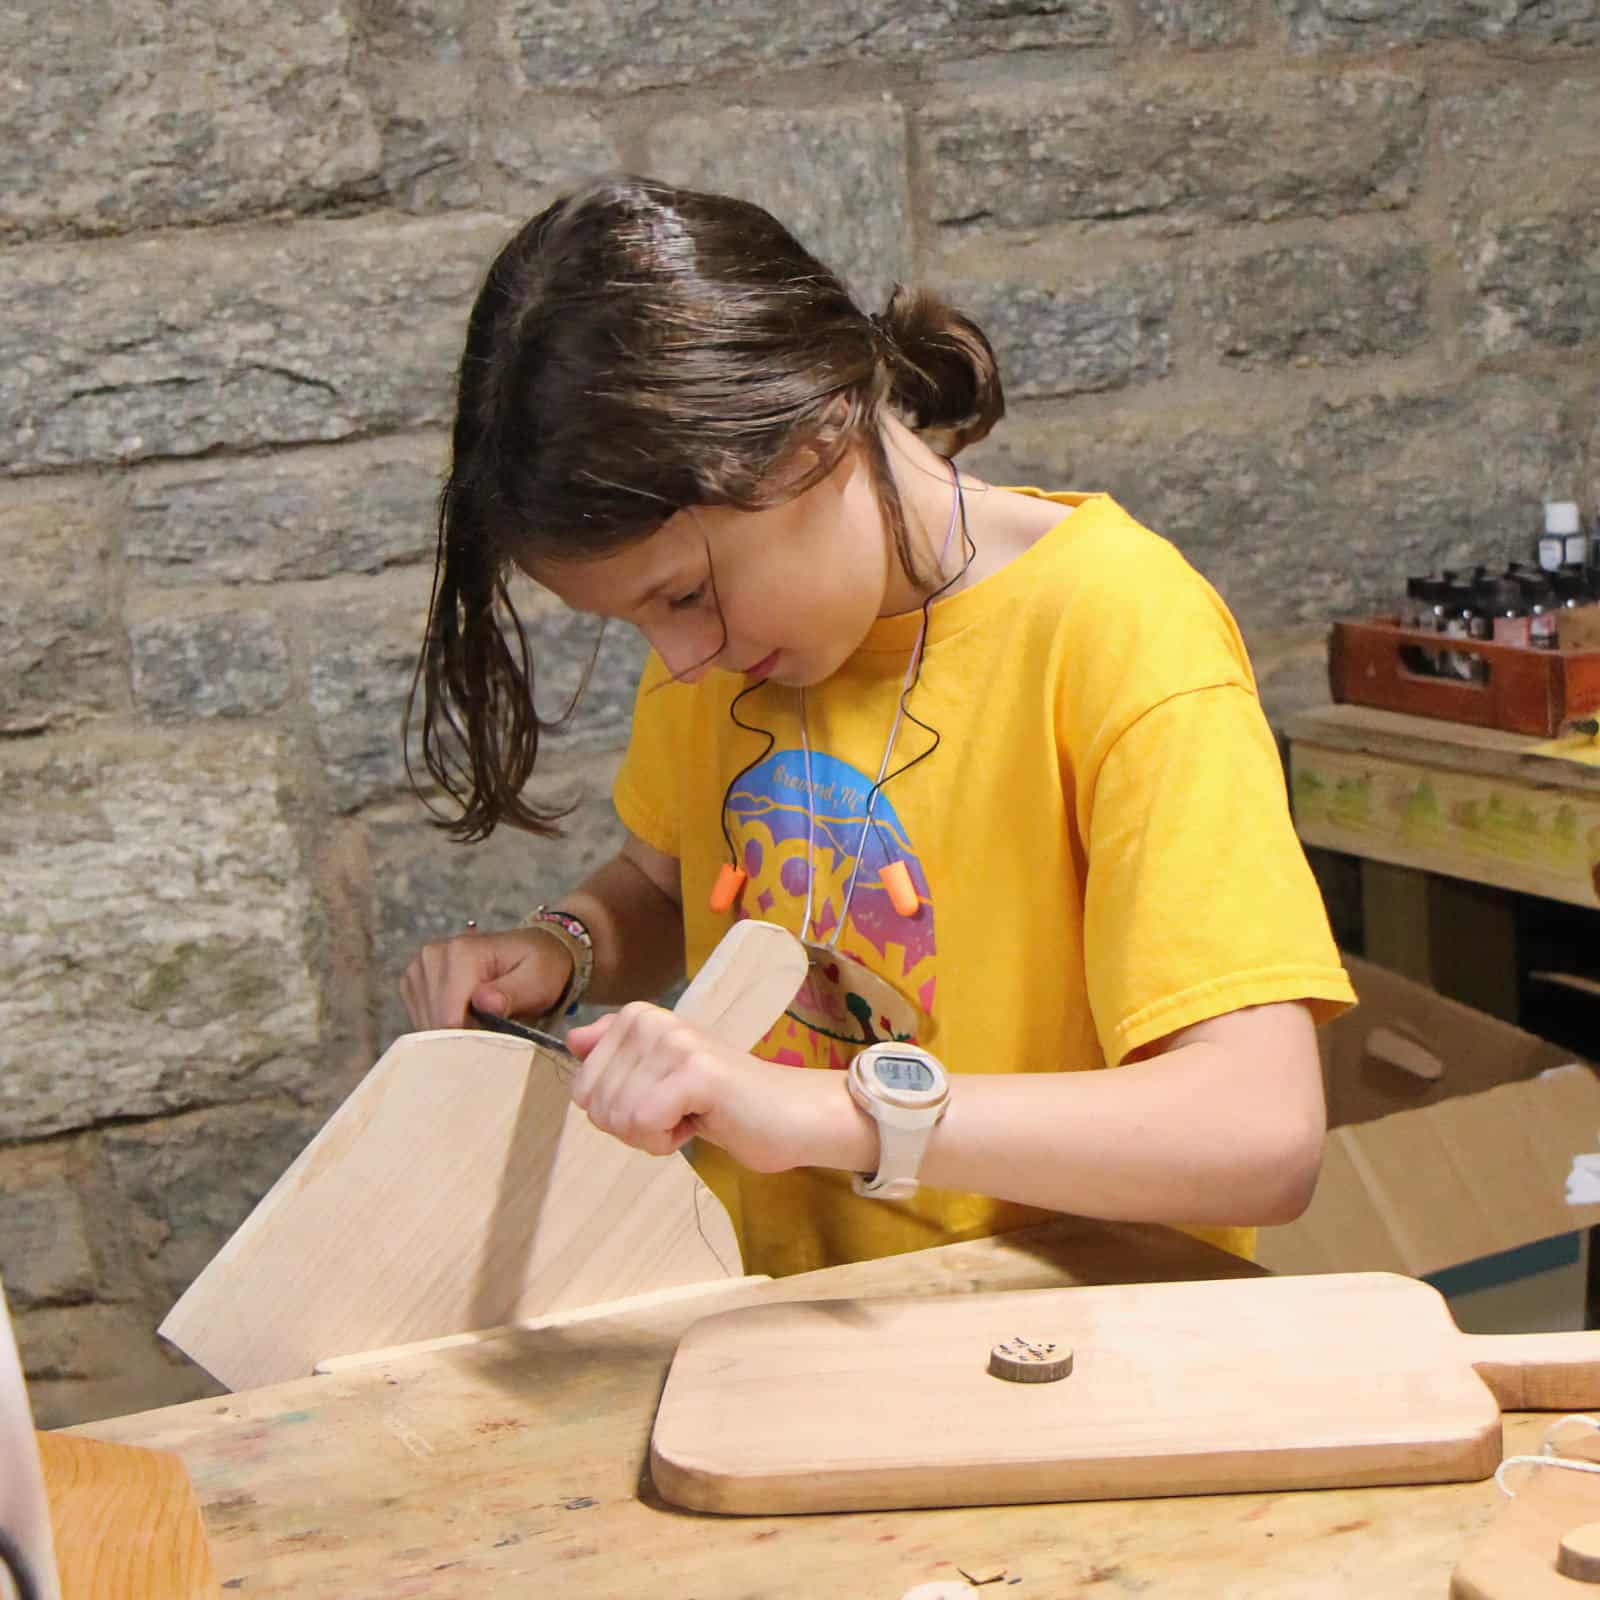
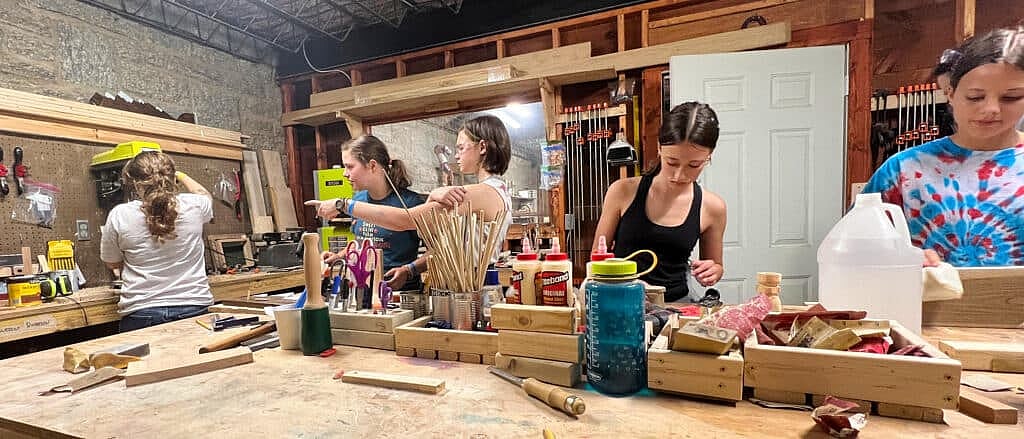
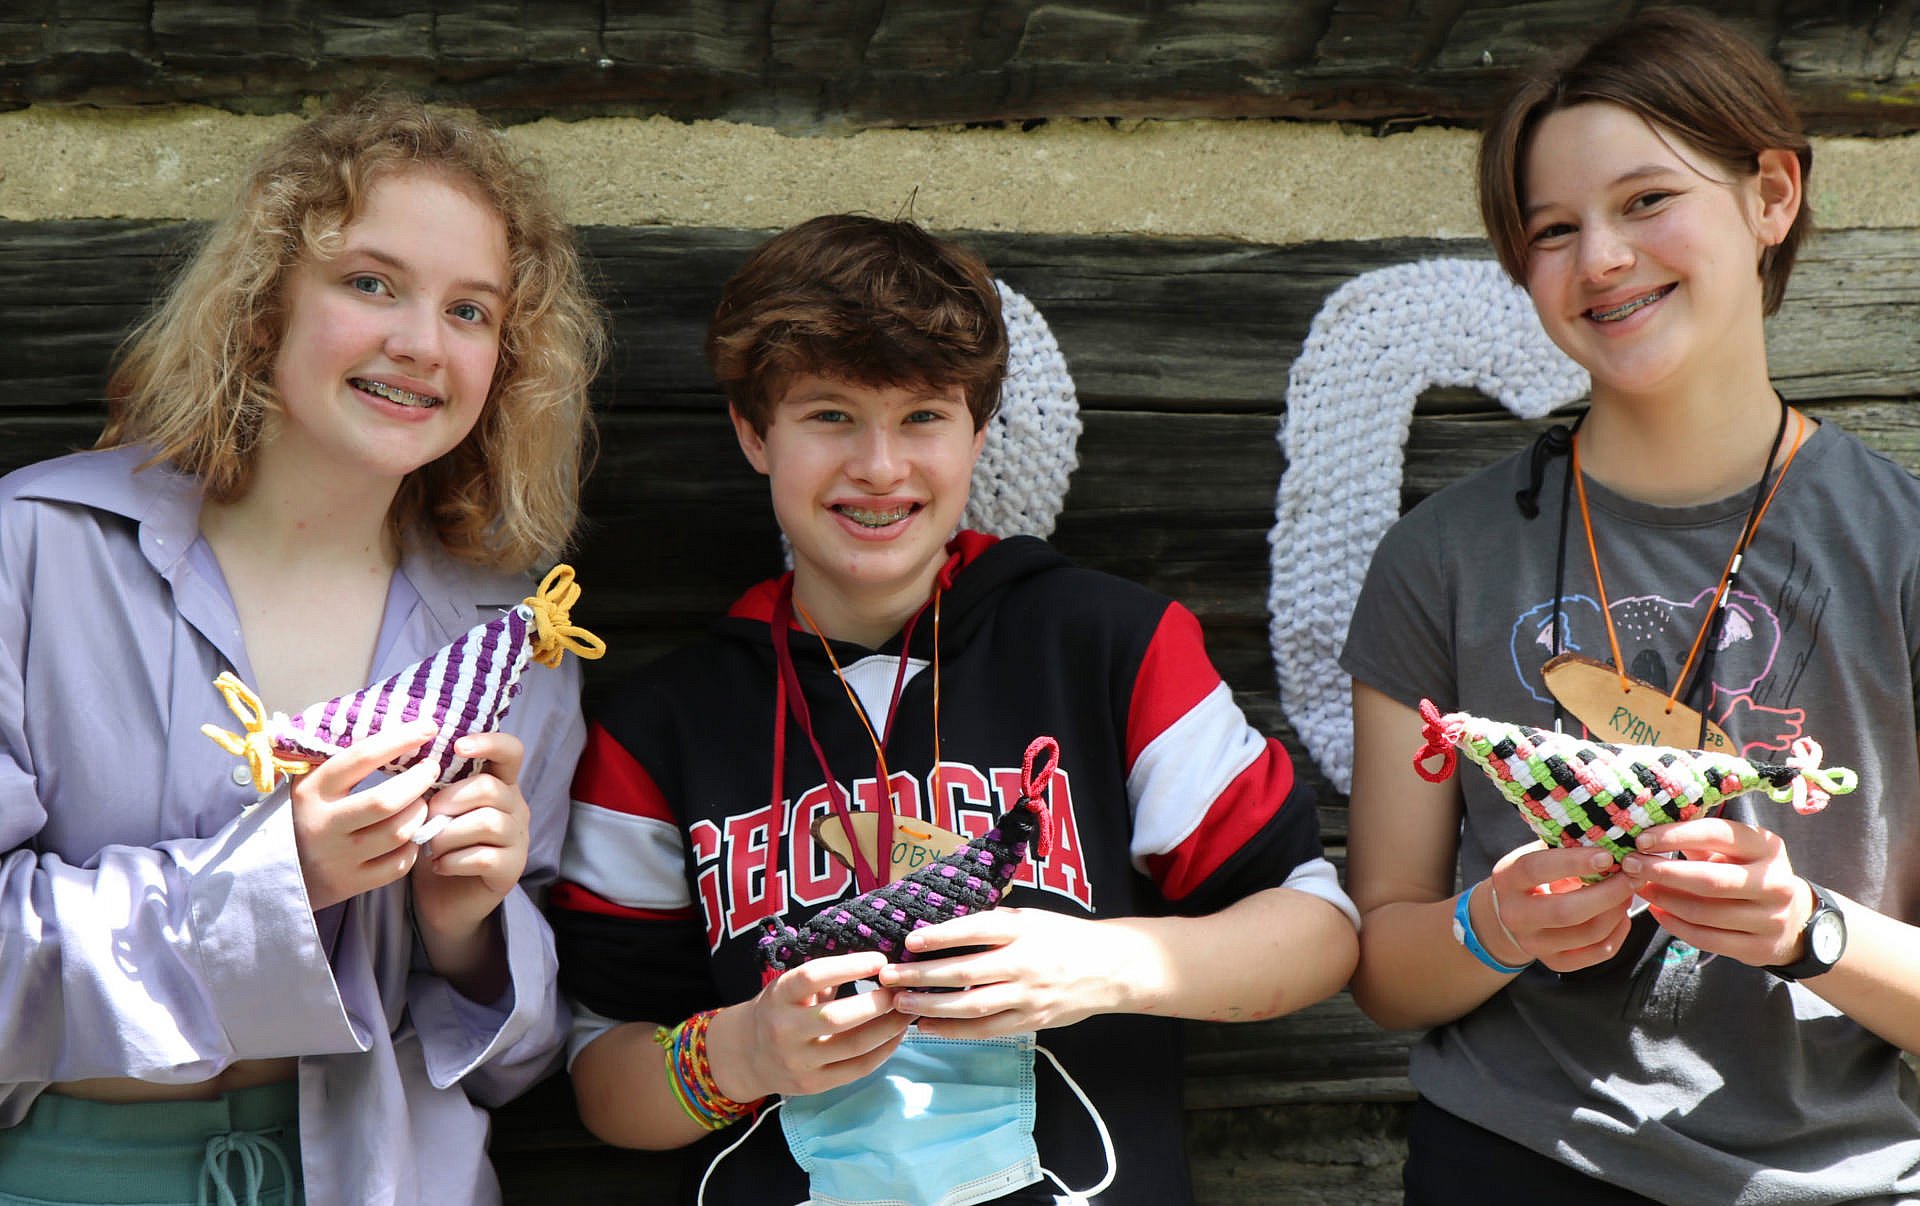
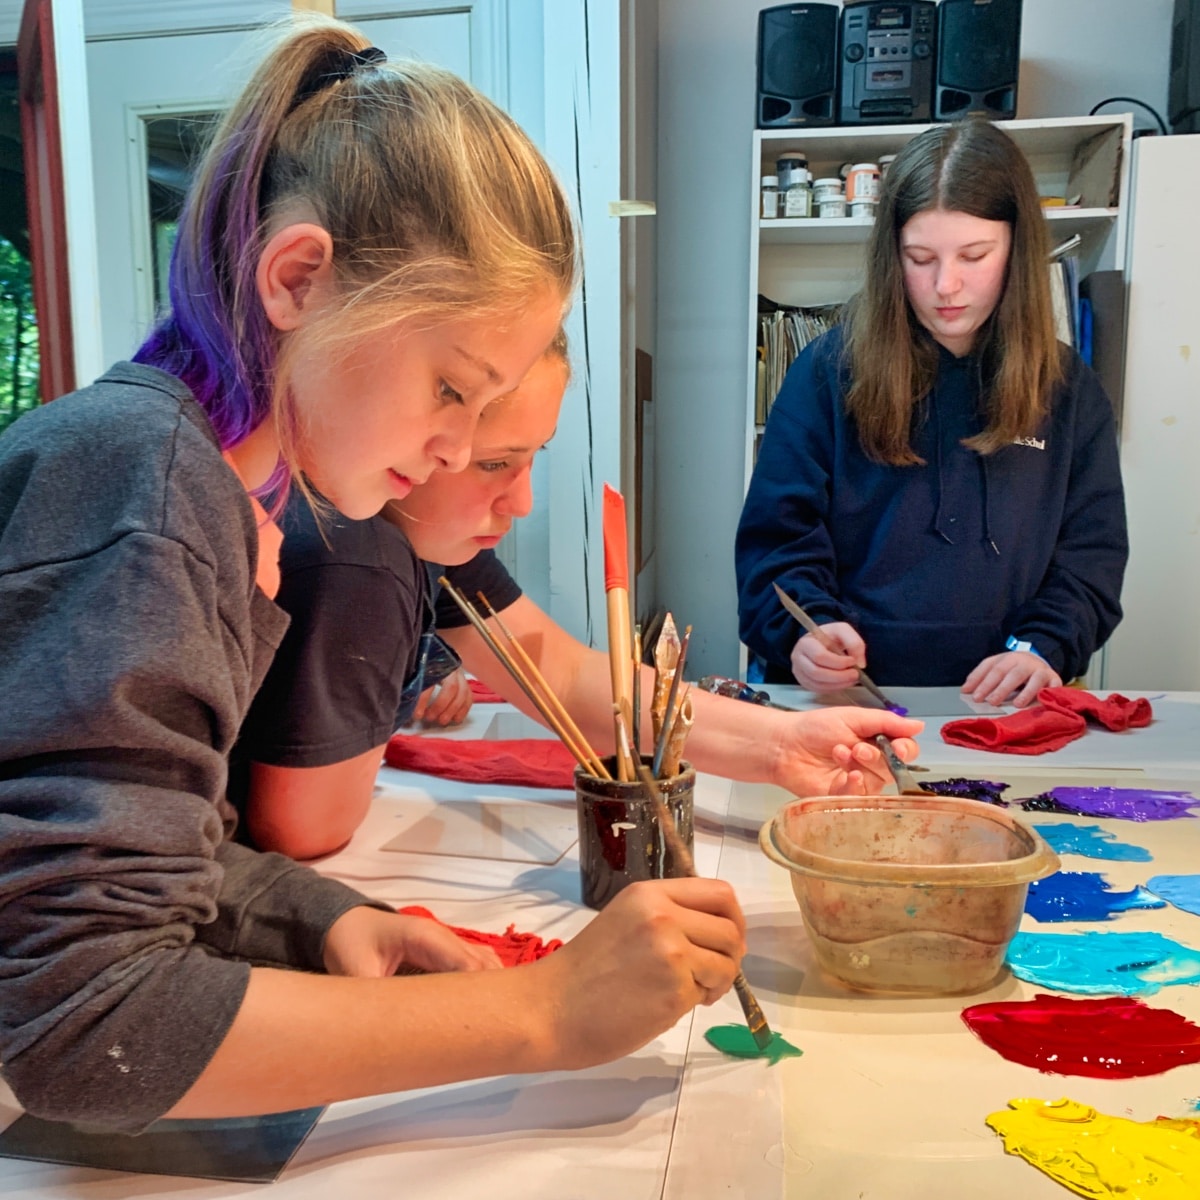
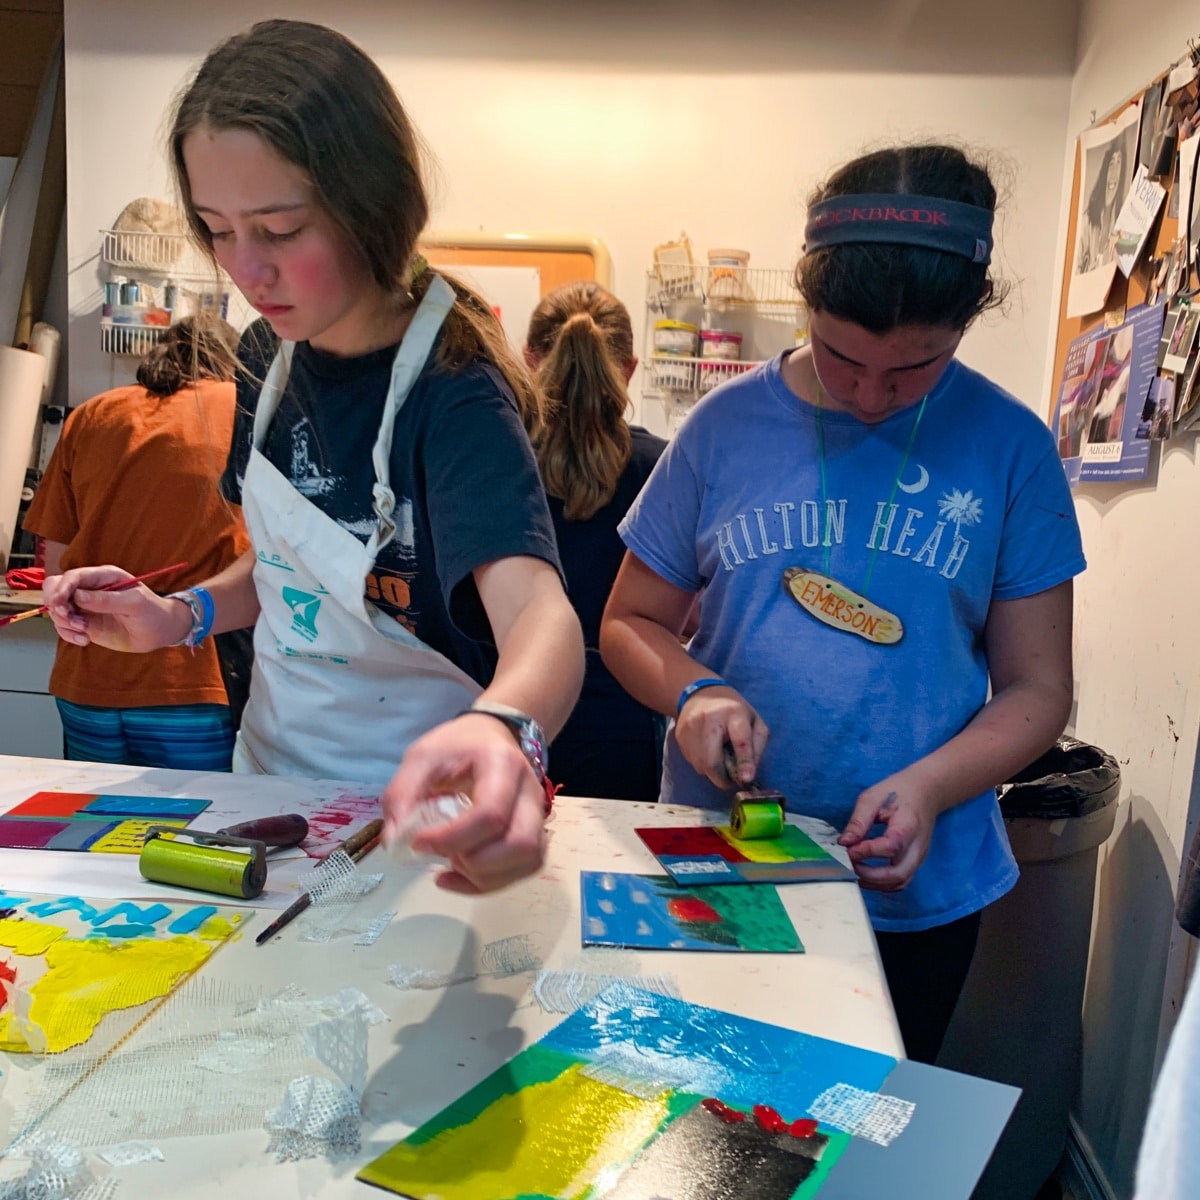
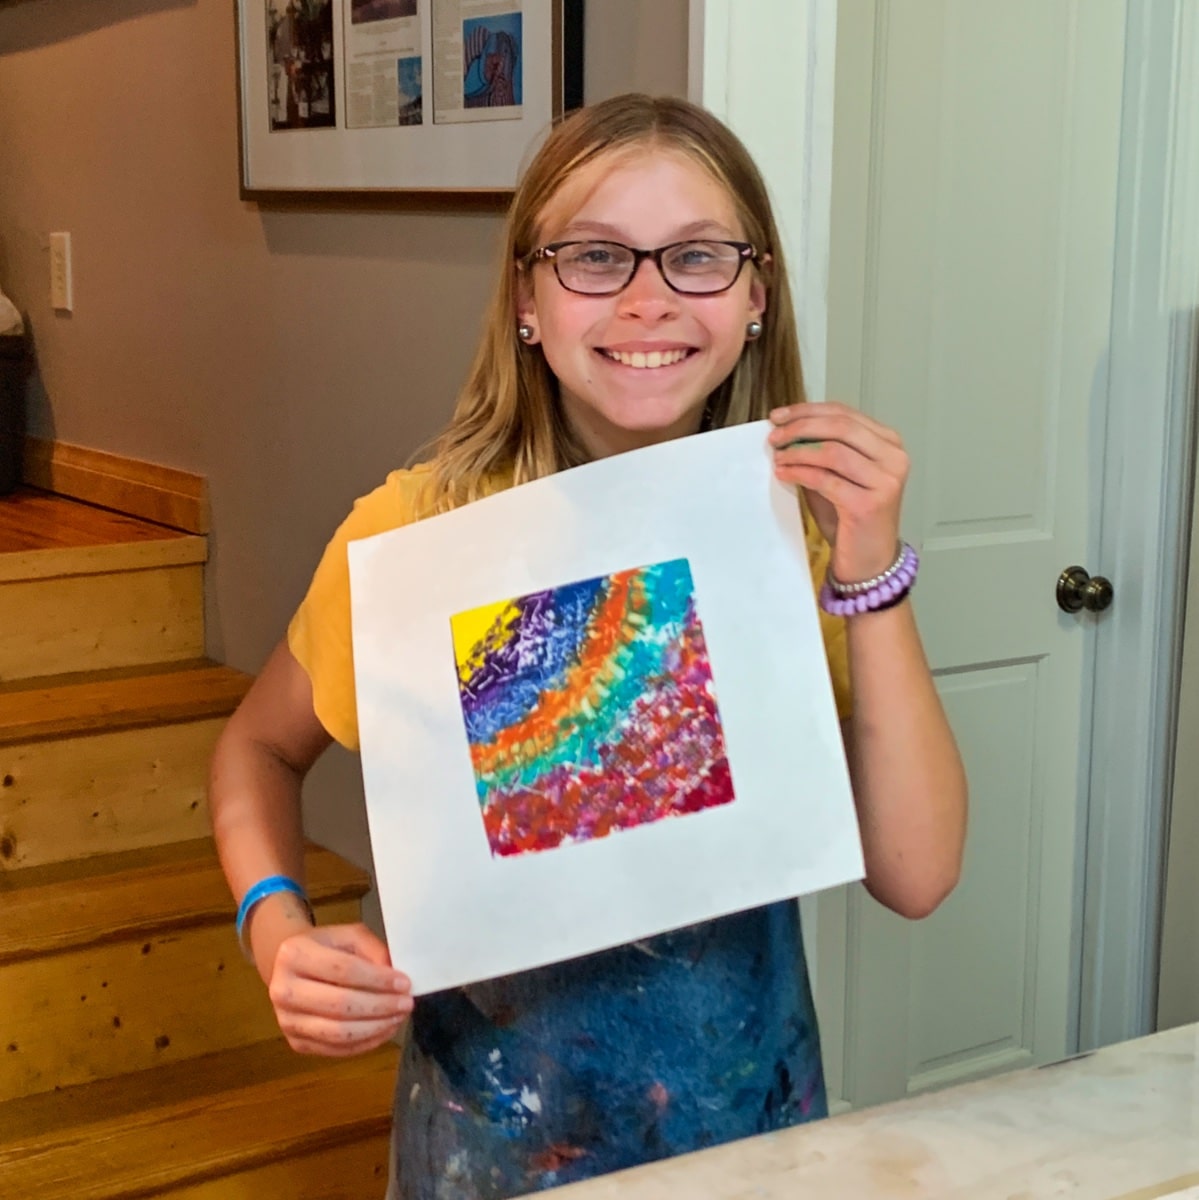
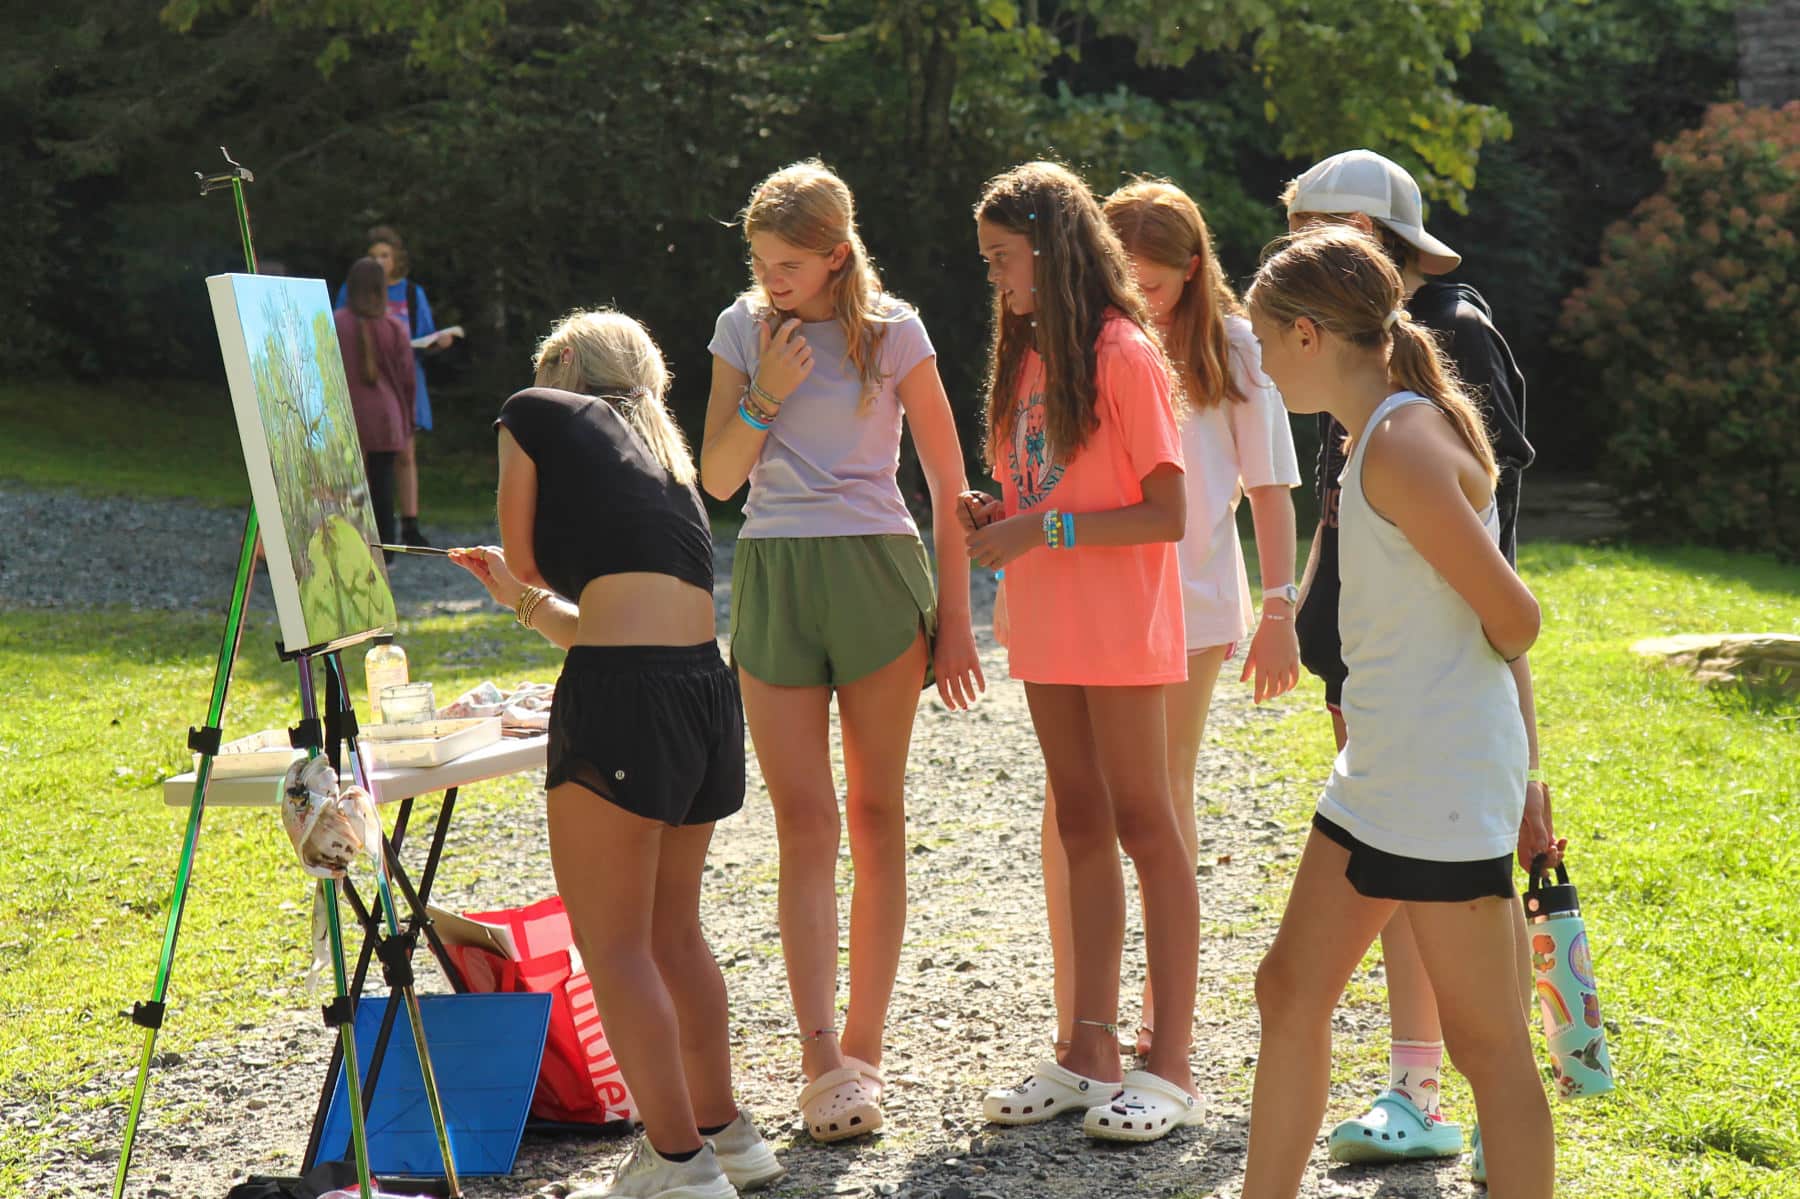
While painting throughout the day, two days actually, campers were invited to paint their own landscape. Lauren helped the girls pick a subject (using a cardboard cutout “viewfinder”), understand the importance of composition, and learn to create a color palette by blending just a few earth tone colors. She demonstrated how to blend colors and the meticulous brush work and patience required to fill out the painting. She coached them not to worry about making a mistake because, she said, “Every ‘mistake’ is a new creation.” You can see from these photos that the girls had a great time painting and learning from Lauren.
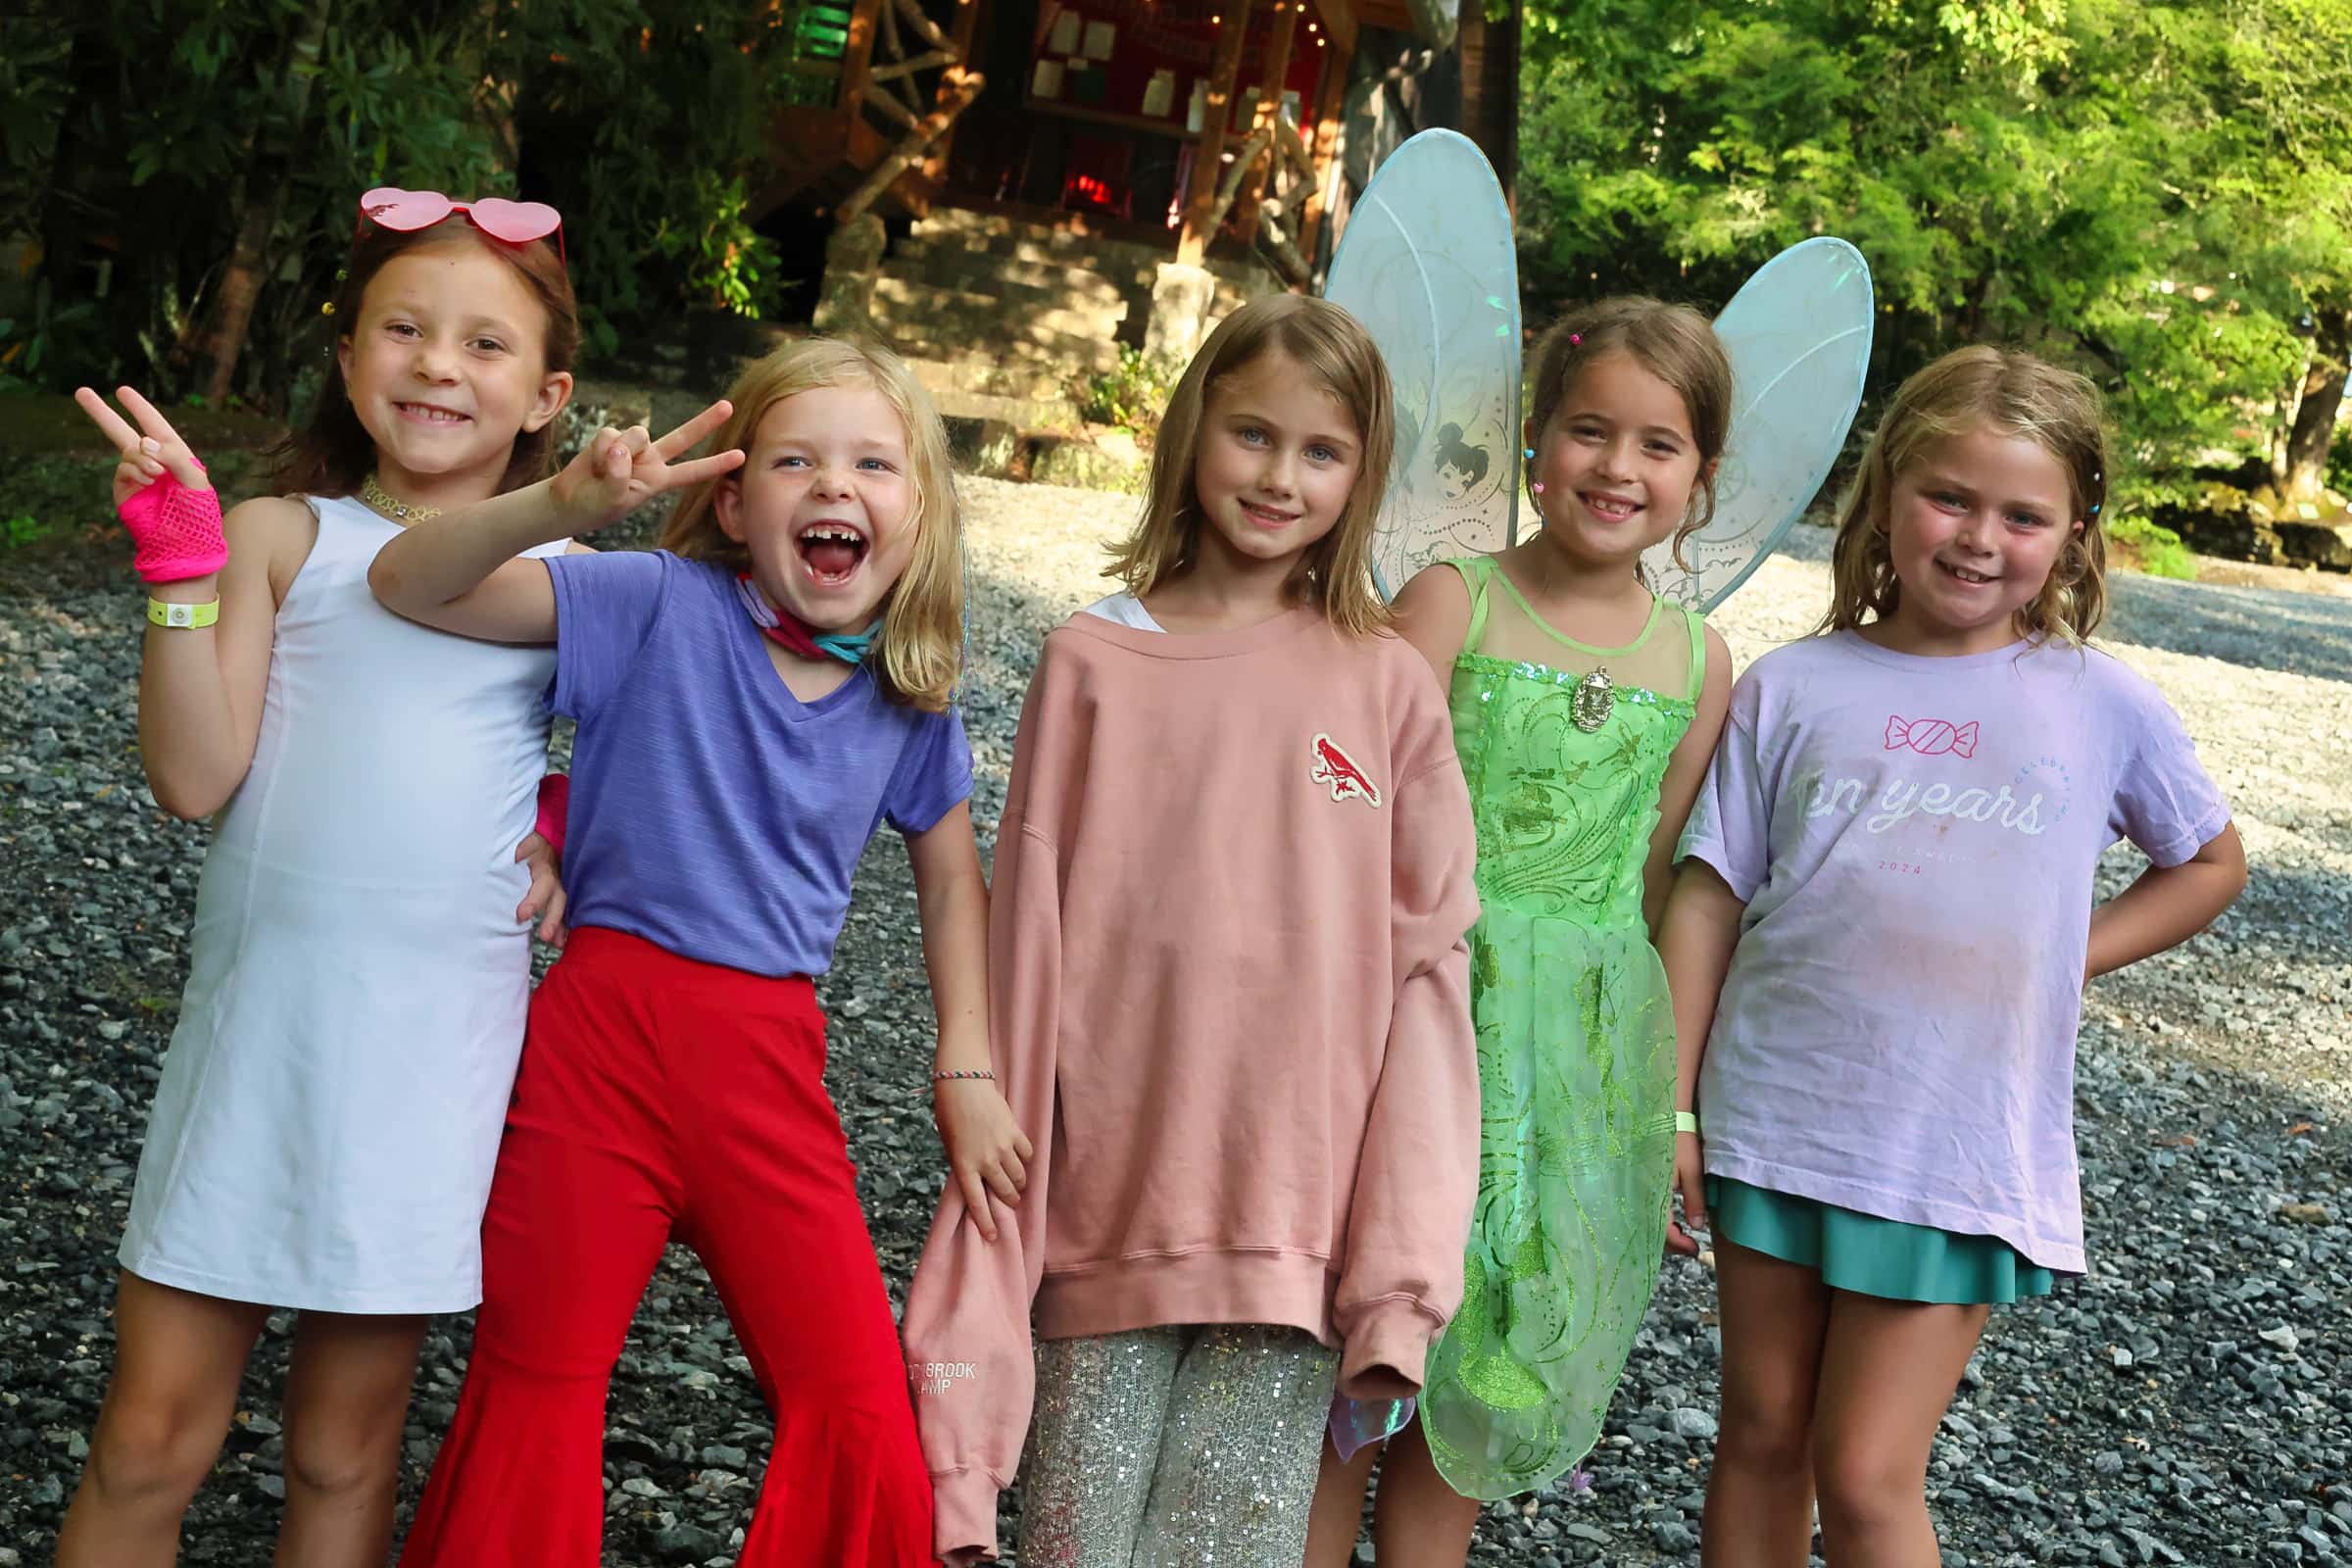
Surprise Dance with Camp Carolina
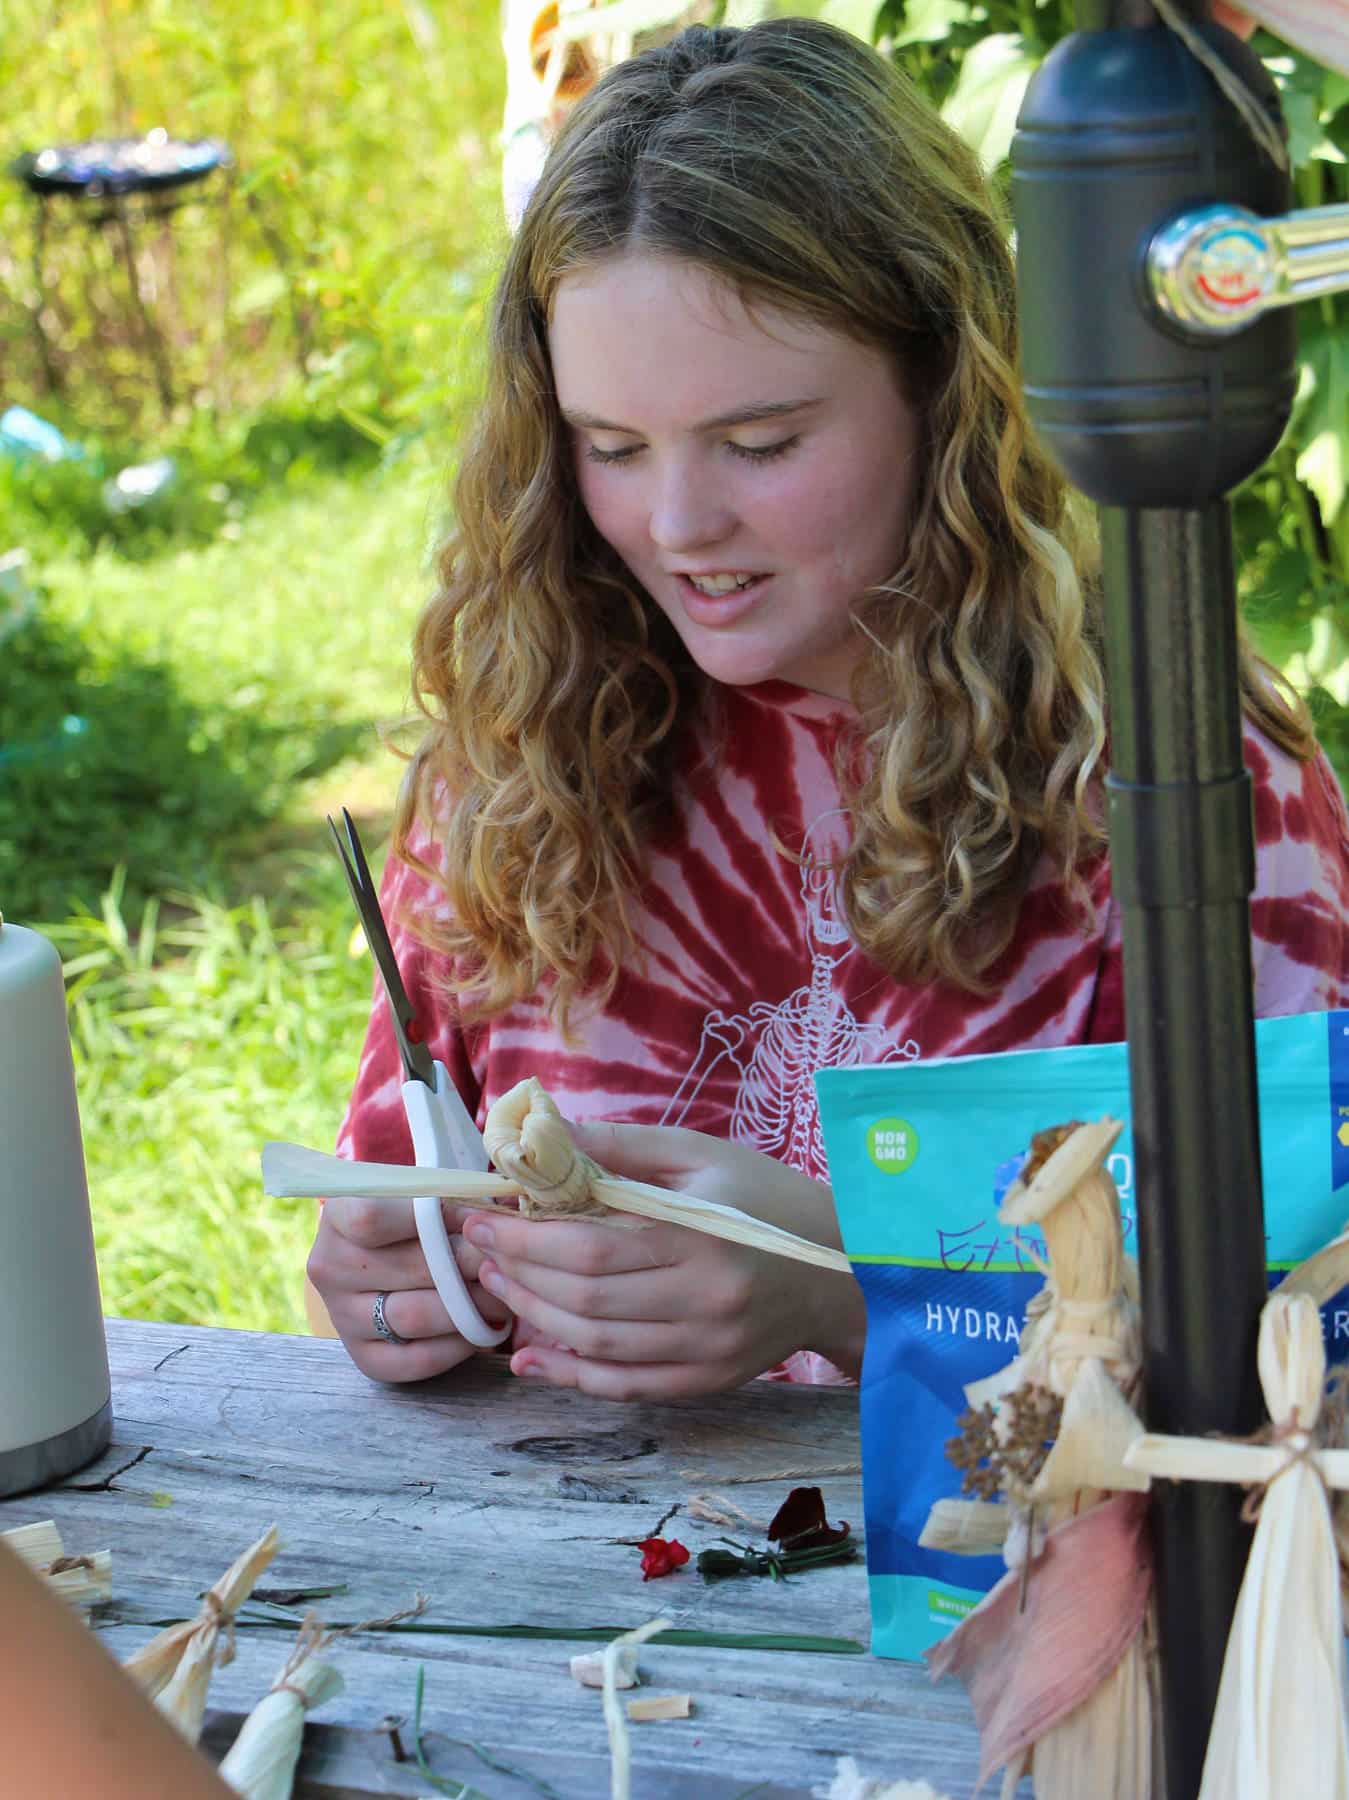
At dinner tonight we announced a surprise evening program, a dance with Camp Carolina. This promised to be a fun night to dress up a bit —silly, of course —and show off a few dance moves. Our Juniors and Middlers stayed here to welcome the younger boys from CCB, and our Seniors and Hi-Ups made the trip across town for their dance in the CCB gym. Two dances at once! With the counselors leading the way, the girls jumped and grooved to popular hits (“Party in the USA” and “Shake it Off,” for example) along with well-known line dances like “Cotton-Eyed Joe” and the “Cha-Cha Slide.”
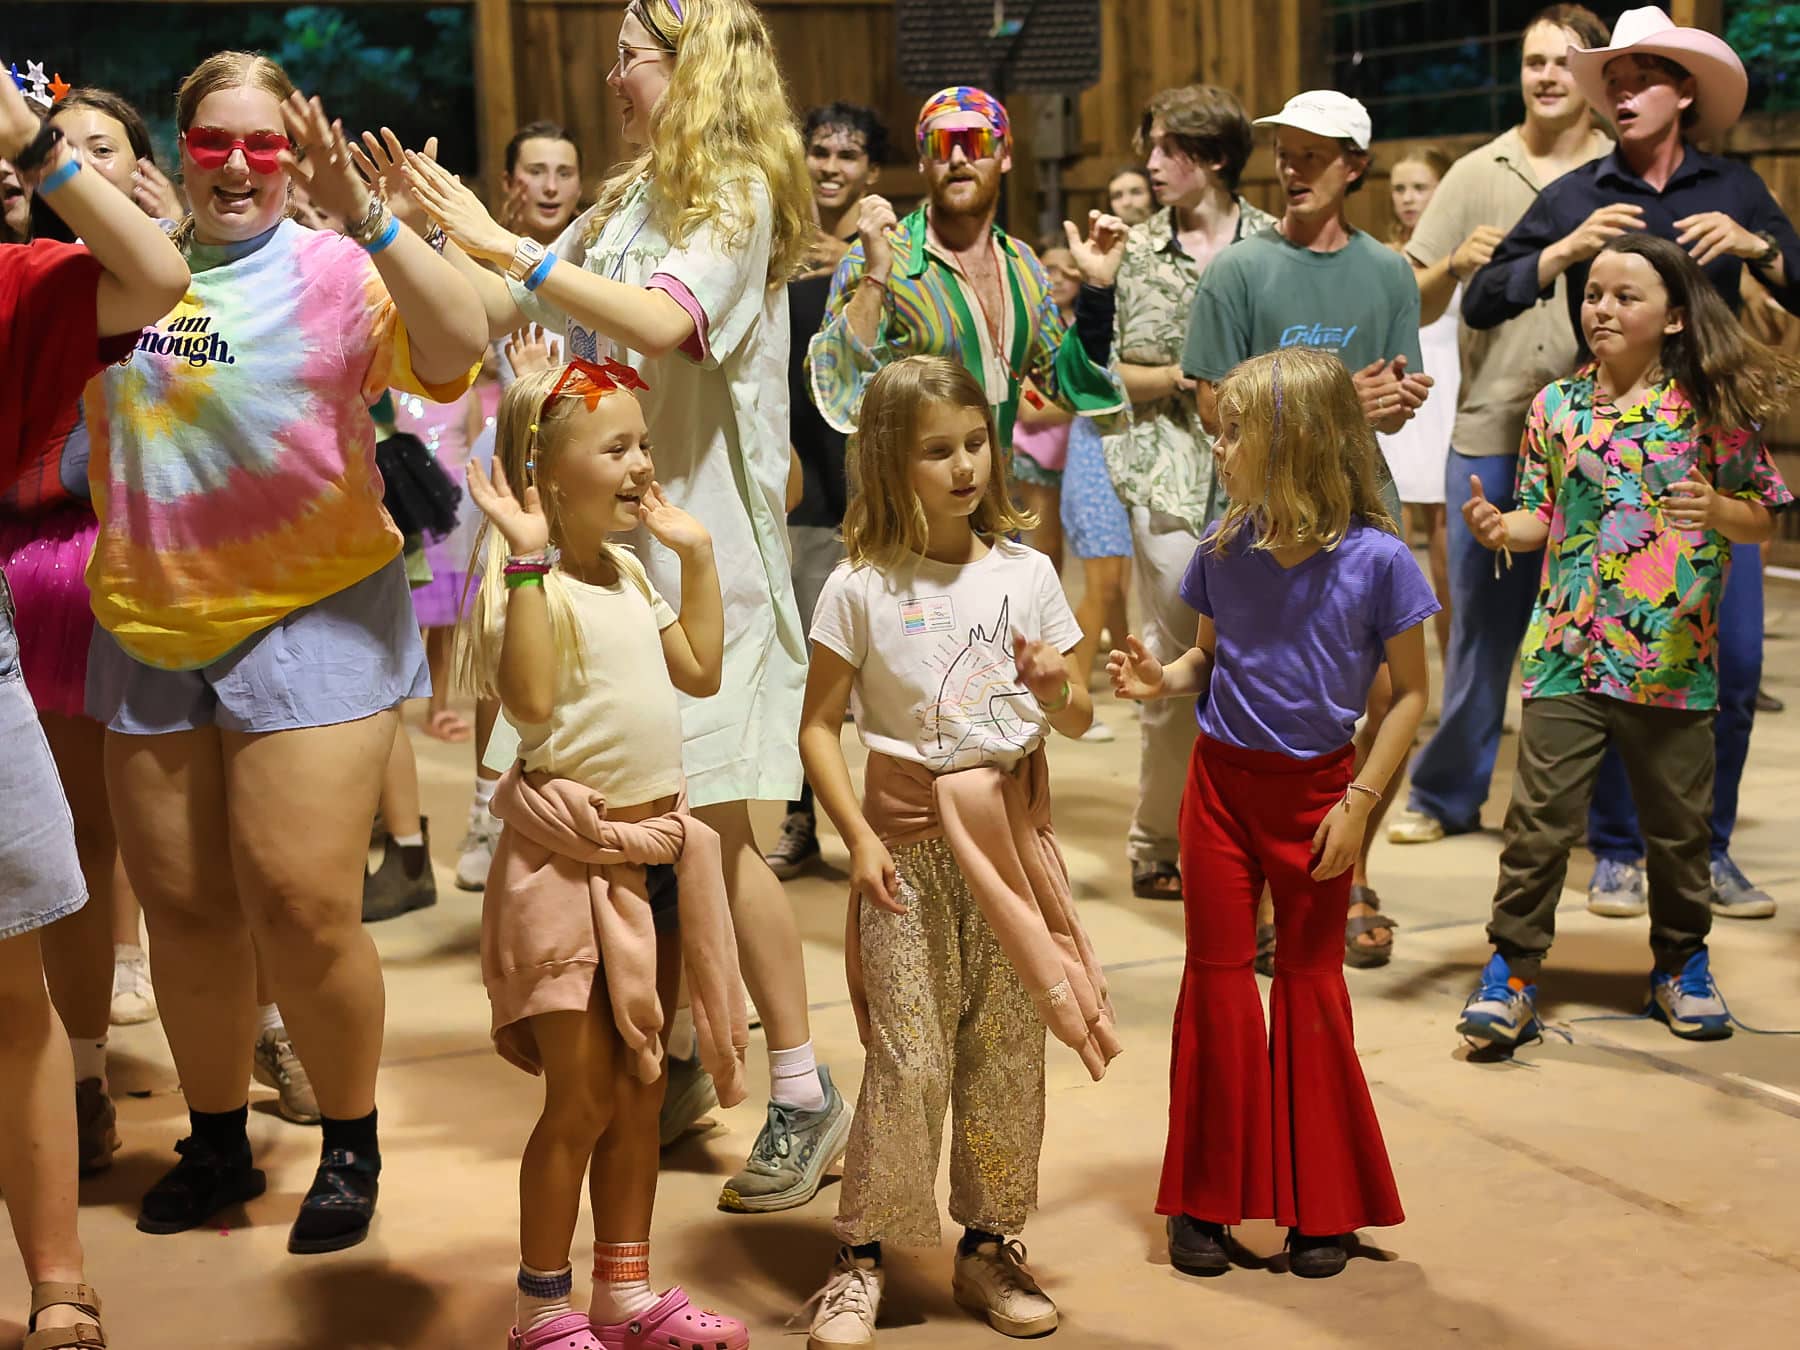
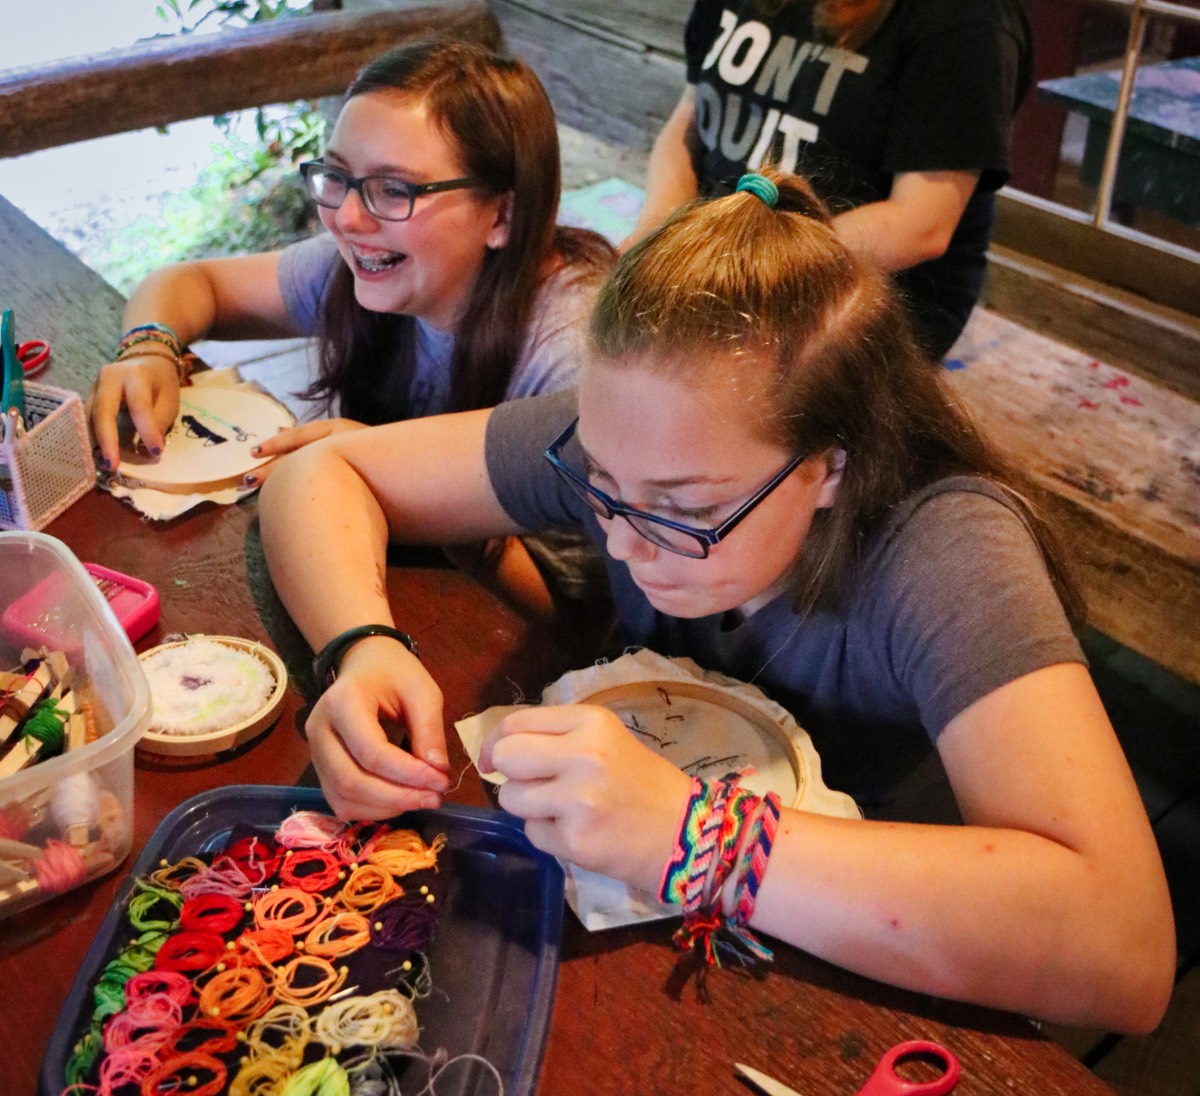
Both camps served homemade cookies to keep the crowd going, and had plenty of water available to rehydrate. When folks wanted a break from the dancing at Rockbrook, or simply as an alternative, they could go outside and play gaga ball, tetherball, corn hole, or connect four. The girls outnumbered the boys a bit at the senior dance, but they still had a great time goofing around on the dance floor. Silly and exciting stuff like this makes great camp fun.