“Can you learn how to use the potter’s wheel?”
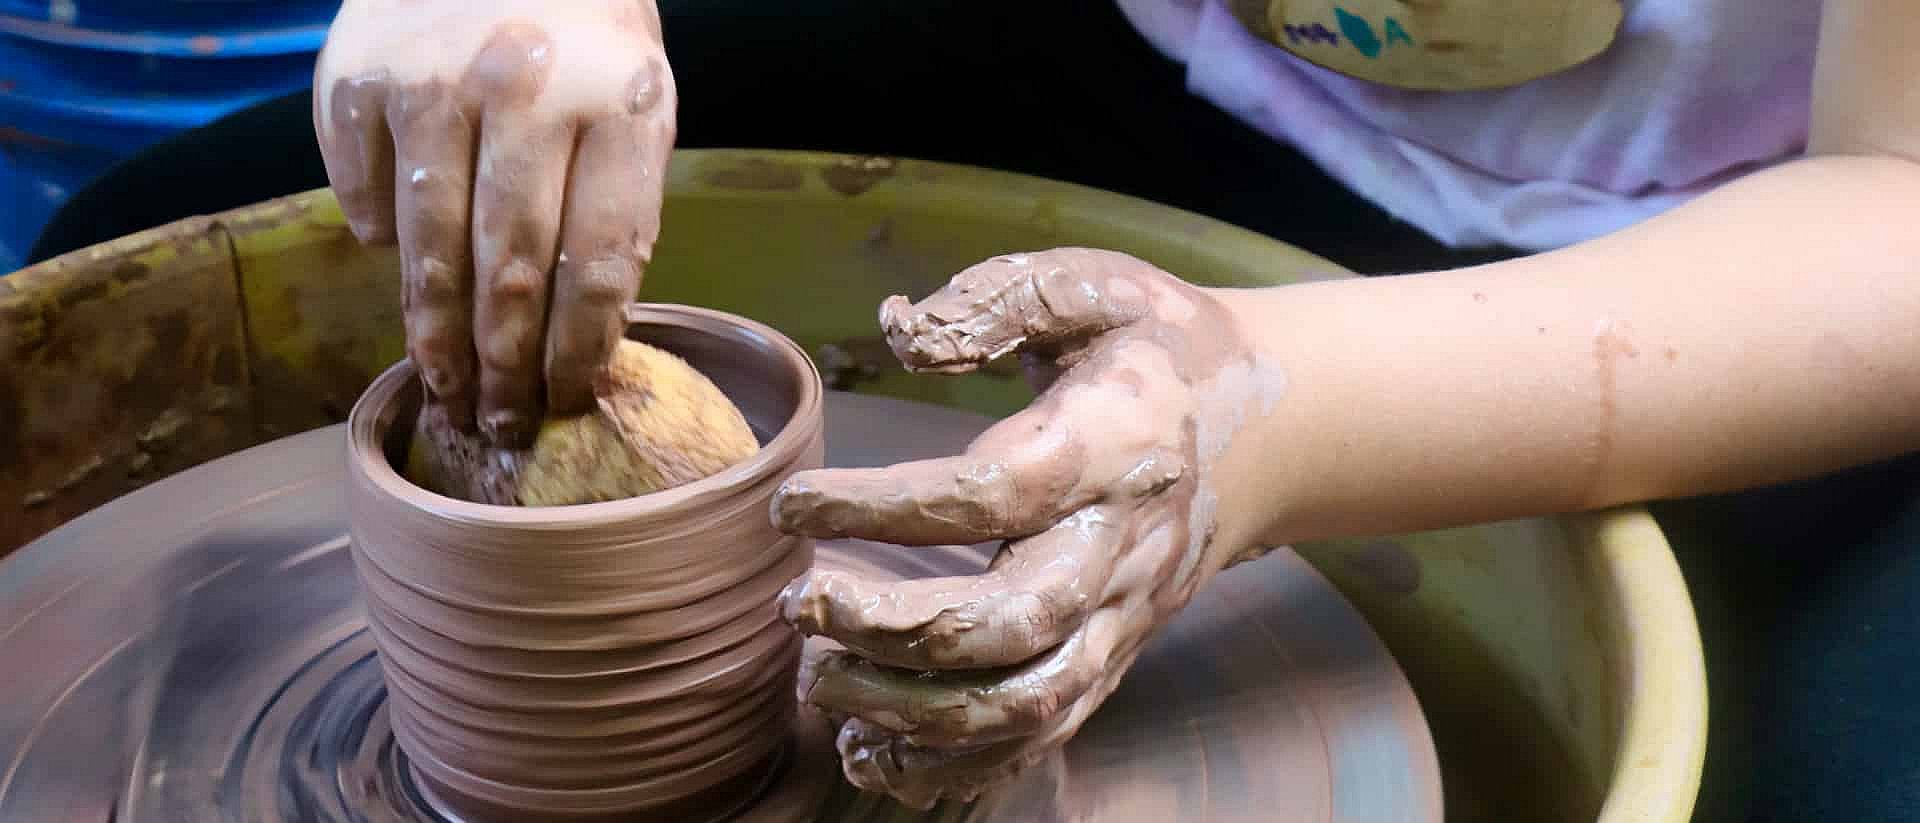
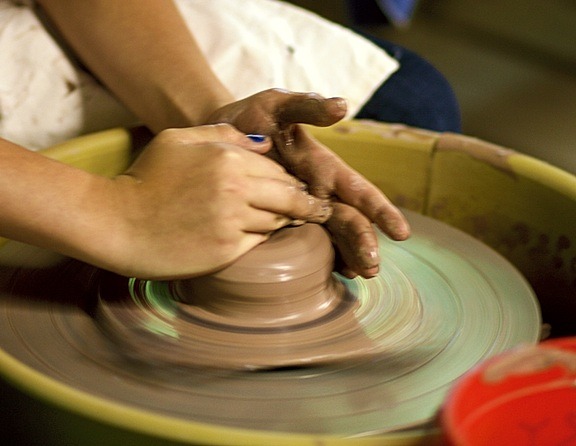
Yes, you can! The Rockbrook ceramics camp activities let campers improve their pottery skills so they can learn to throw pots on the wheel. After practicing other ceramics techniques, specifically hand-building methods like pinch, coil and slab pottery, it’s exciting to learn about the potter’s wheel.
Like any skill, this takes practice, but to get started you’ll work on 4 key steps:
- Centering the clay on the wheel.
- Opening up the center of the clay.
- Pulling up the walls and shaping the piece.
- Trimming the base of the piece.
Of course there’s lots of detail to each of these steps, but this brief outline gives you a sense of what’s involved in learning to throw ceramics on the potter’s wheel. Real art! Over a few weeks at camp, you’ll be surprised how good you can get and be amazed at the cool things you can make. Maybe next summer, you can finish a whole set of matching mugs!
P.S. If you want to read more about it, check out the book Wheel-Thrown Ceramics, by our friend Don Davis. It’s the best one around.
0 Comments
Comment section